Plugin Installation
This is a step-by-step guide for downloading and installing the Generative AI plugin for Krita.
Installing the Plugin
-
Make sure you have Krita version 2.2 (or later) installed.
You can download and install it from krita.org .
-
Download the Plugin
Download the latest release of the Plugin. Remember where you save the ZIP file.
-
Install the Plugin
Run Krita. Go to Tools ▸ Scripts ▸ Import Python Plugin from File…
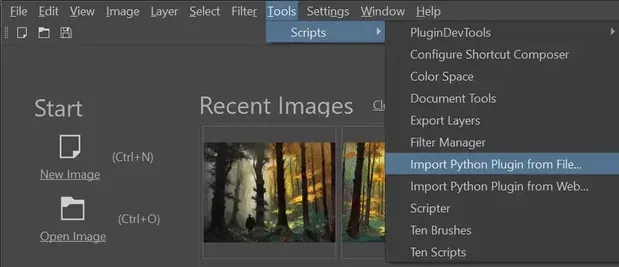
Select the ZIP file you just downloaded. When prompted to enable the Plugin, press Yes.
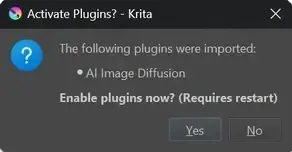
Now Krita needs to be restarted!
-
Enable the Docker
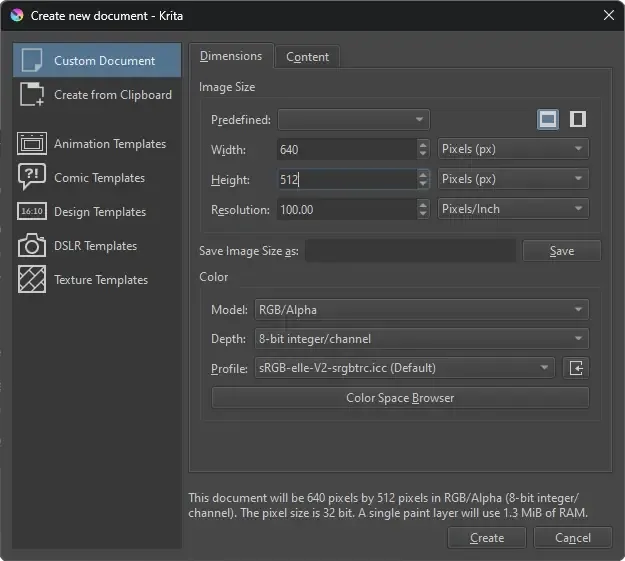
In Krita, create a new Document. For starters, choose a low resolution.
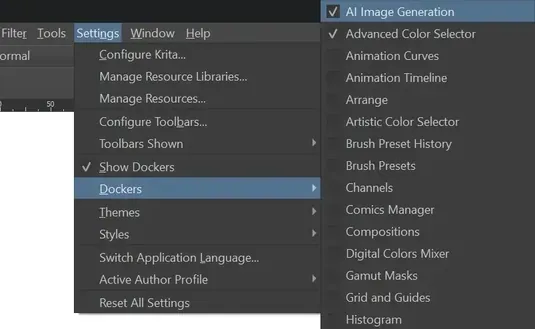
Enable the Plugin Docker from the Menu bar: Settings ▸ Dockers ▸ 🗹 AI Image Generation
-
Configure Image Generation
The Plugin is installed now and you should see the Docker appear.
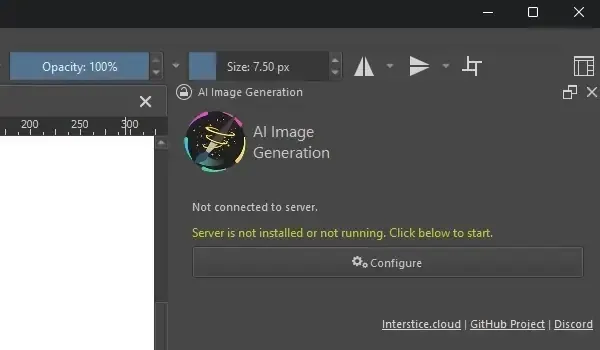
To generate images you also need a backend server. Click Configure to choose between multiple options:
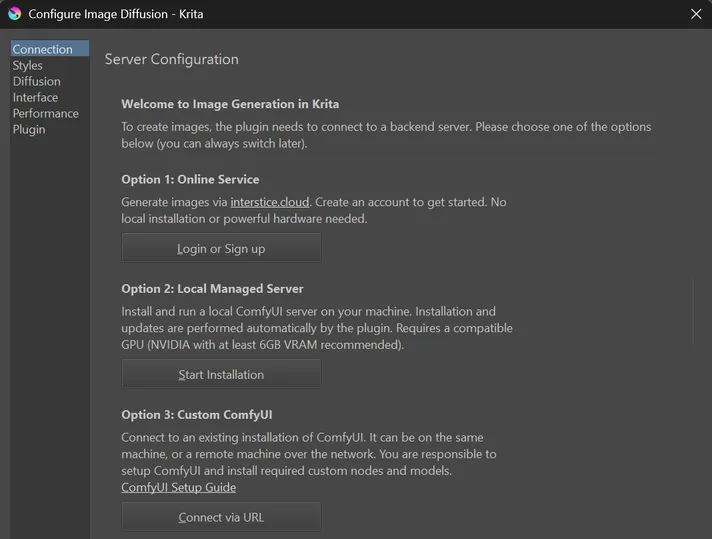
-
Local Managed Server
The Plugin will download and install the server on your system.
Requires a powerful GPU! Continue reading below for details. -
Online Service
Create an account and generate images on cloud GPU workers.
This requires no installation or hardware on your end. Pricing and Terms -
Custom Server
The Plugin can connect to an existing ComfyUI server, either local or remote.
Read about required custom nodes and models here. This is the most flexible option, but some technical knowledge is required.
-
-
Connect to Online Service (Optional)
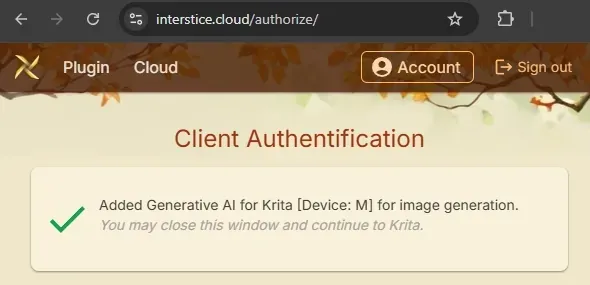
Press the Sign in button. This should open your browser, where you need to log in, or sign up for an account.

Once done, you should see the confirmation screen and can start generating images!
Troubleshooting
Please check Common Issues and search for existing issues .
If you cannot find a solution to your problem, open a new Issue .
For questions, reach out via Discussions or join us on Discord .
Local Server Installation
These steps are only required if you selected Local Managed Server as the backend.
-
Hardware requirements
NVIDIA GTX 1060 6GB or better.
You may encounter issues and limitations on older cards.AMD 12GB VRAM or more. Slow with limited feature set.
Custom install required for Linux.Apple Apple Silicon via MPS (community support). Intel Intel Arc Graphics cards, 8GB or better. CPU Works, but is very slow. Please make sure you are using an up-to-date GPU driver!
-
Operating System
Windows, Linux or macOS
-
Installation
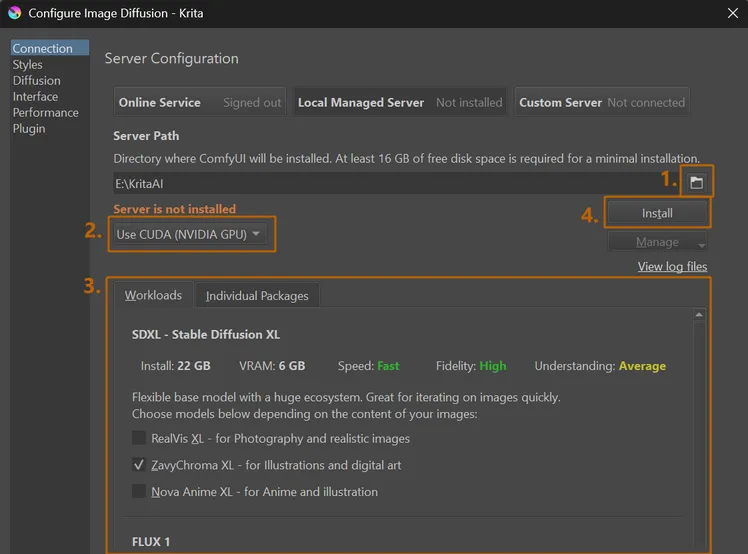
- Choose a path where to install.
Keep in mind AI models can be very large, 10GB is a minimum, 50GB+ not unusual depending on optional packages. - Choose a backend. CUDA only works for NVIDIA GPUs. Use DirectML for AMD. Make sure to do this before you install!
- Select workloads to install.
Workloads install a set of recommended models along with your choice. Download and installation size will increase the more models you select. - (Optional) Customize packages to install.
The “Individual Packages” tab allows to select/deselect specific models. You can skip this at first and come back later to install additional packages. - Click install!
- Choose a path where to install.
