Control Layers
Control layers are all about guiding generation with images. It’s a common term for technology like ControlNet or IP-Adapter.
Usage
Creating control layers is easy:
- Create a new layer or select an existing one.
- Click the button.
- Choose a control layer type.
You can switch the layer afterwards, and there is a slider which controls the guidance strength. Higher strength makes generated images stick to the control layer content more closely.
Generating control layers
At this point you might be wondering what to put into a control layer. A great way to discover is to automatically derive control layer content form an existing image. This is usually the reverse of what you’re trying to do (ie. generating an image with the guidance of control layer content). Here is how:
-
Create a control layer as described above.
-
Make sure you have an image currently visible on the canvas.
-
Click the button.
If the docker size is small, the button might be hidden inside the . If there is no button, the control layer mode you selected doesn’t support it. Not all of them do.
-
A new layer will be created with the control layer content. It also becomes the active layer.
Advanced options
The extended options provide more fine-grained control over the guidance strength:
- Strength: Weight of the additional embeddings or conditions.
- Range: The sampling step range in which the control layer is applied. This slider can be modified at the beginning and end. Diffusion happens in multiple steps. Setting eg. start to 0.2 and end to 0.7 means the first 20% of the steps happen without control layer guidance. The control layer will be active until 70% of the steps are done.
Control layer modes
The different modes can be broadly categorized into two groups.
Reference images
These modes use the control image similar to how text is used to guide generation. Subjects, color, style, etc. are taken from the control image and forged into something new. Control images can have a different size and format as the canvas: it is best to use square images. Details from high resolution images will likely be lost.
Reference
Subjects, composition, colors and style are taken from the control image. They influence the generated image similar to how text prompts do, allowing the model some freedom to deviate from the input.
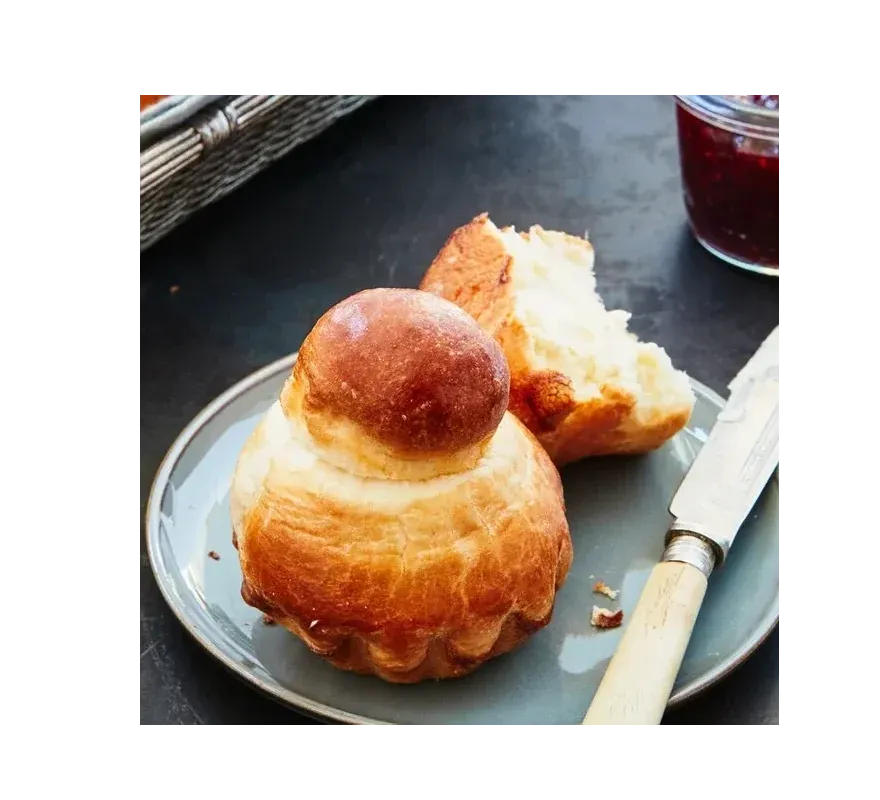
Control Image
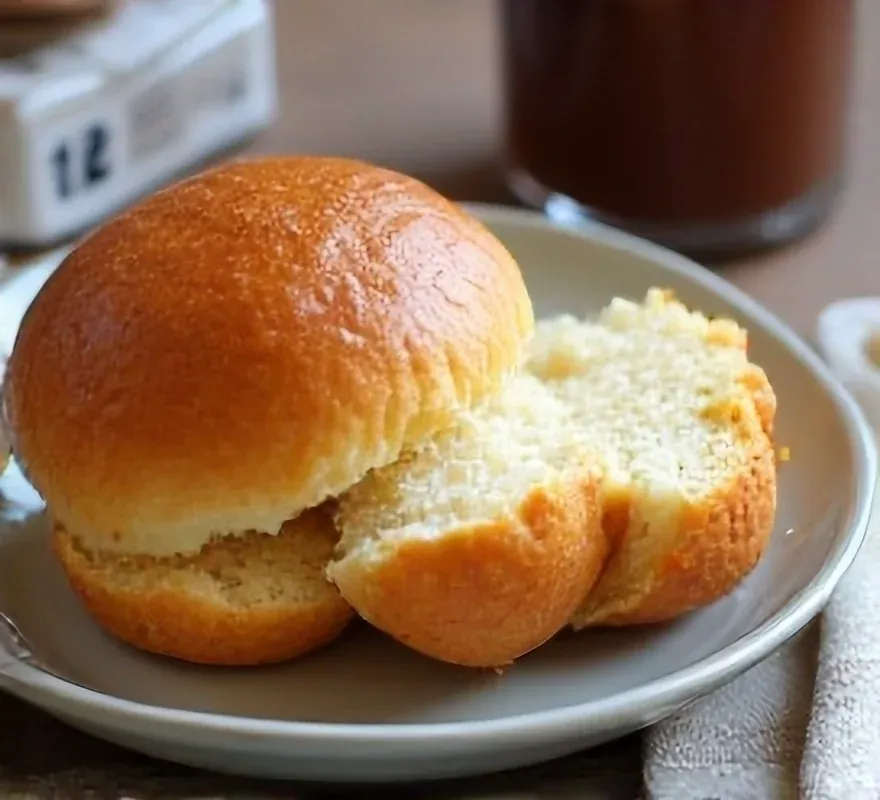
Generated Result
Style / Composition
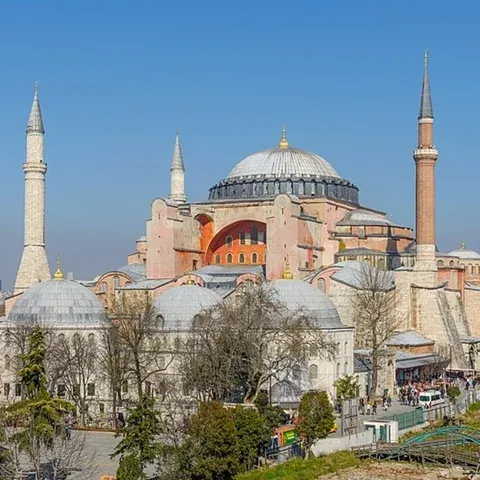
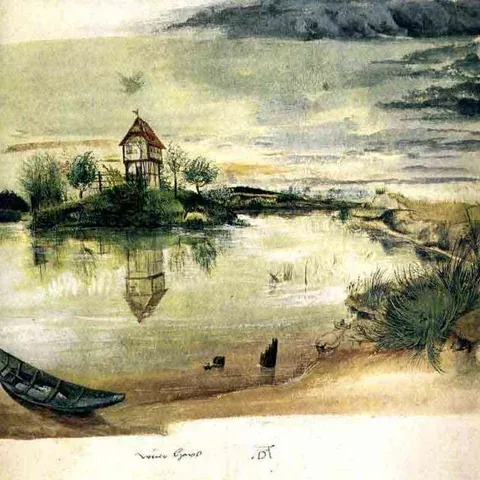
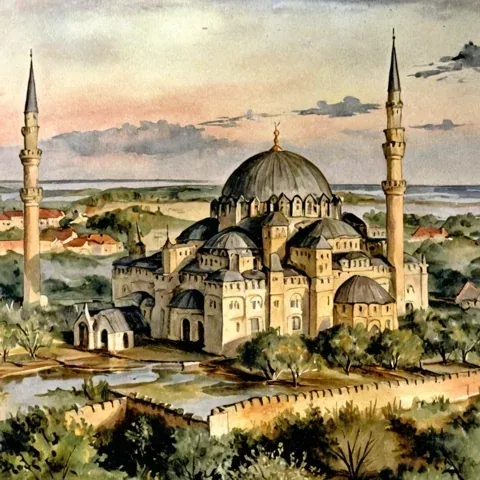
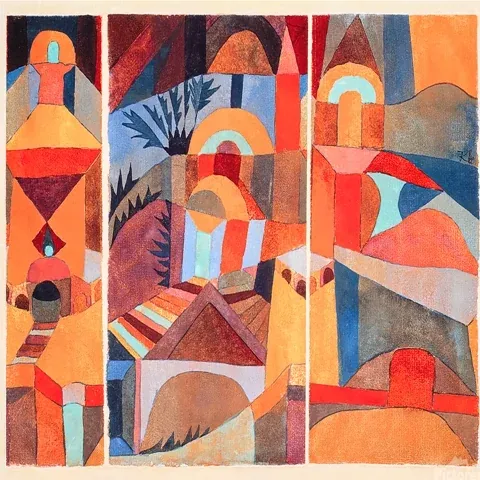
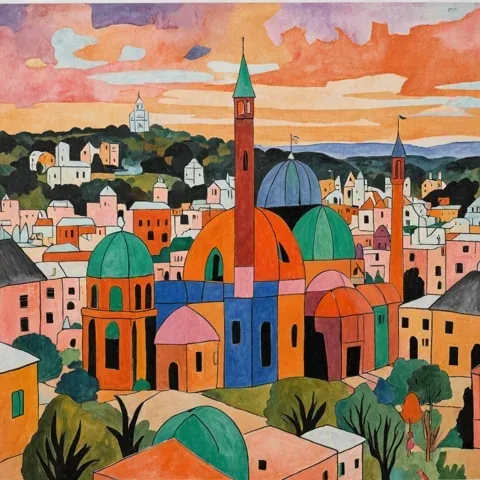
Similar to reference, but focuses on taking only the style (or composition) from the control image. The distinction is not always very clear. Works best with SDXL.
| Composition (control input) | + Style (control input) | Generated image |
|---|---|---|
 |  |  |
 |  |  |
Face
Replicates facial features from the control image. Input must be a cropped image of a face. It’s best not to crop too closely, a bit of padding is fine.
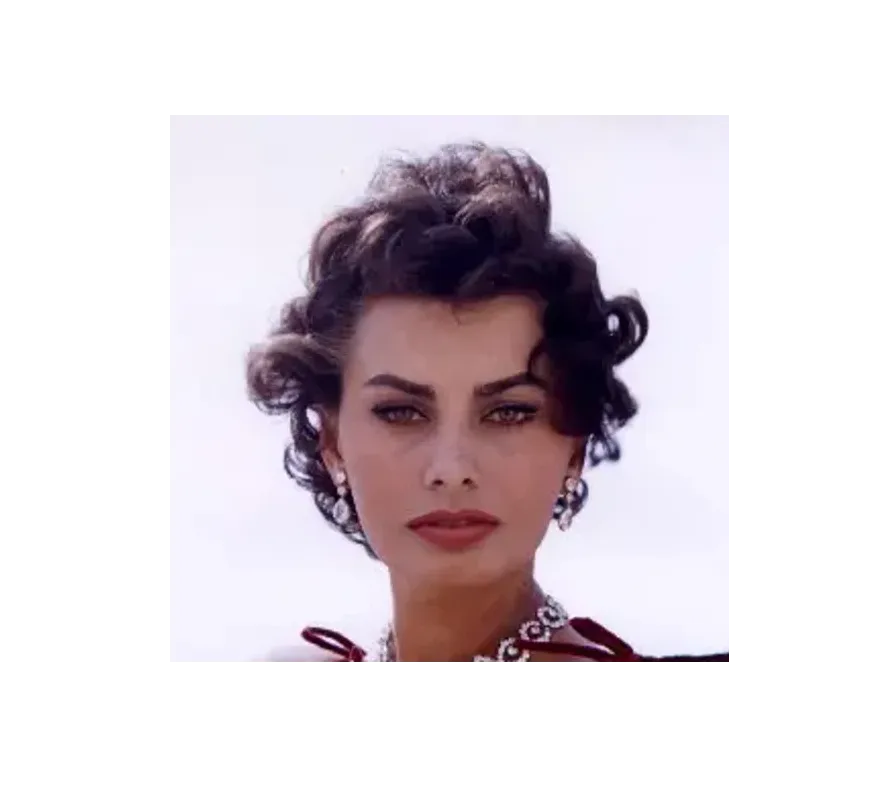
Control Image
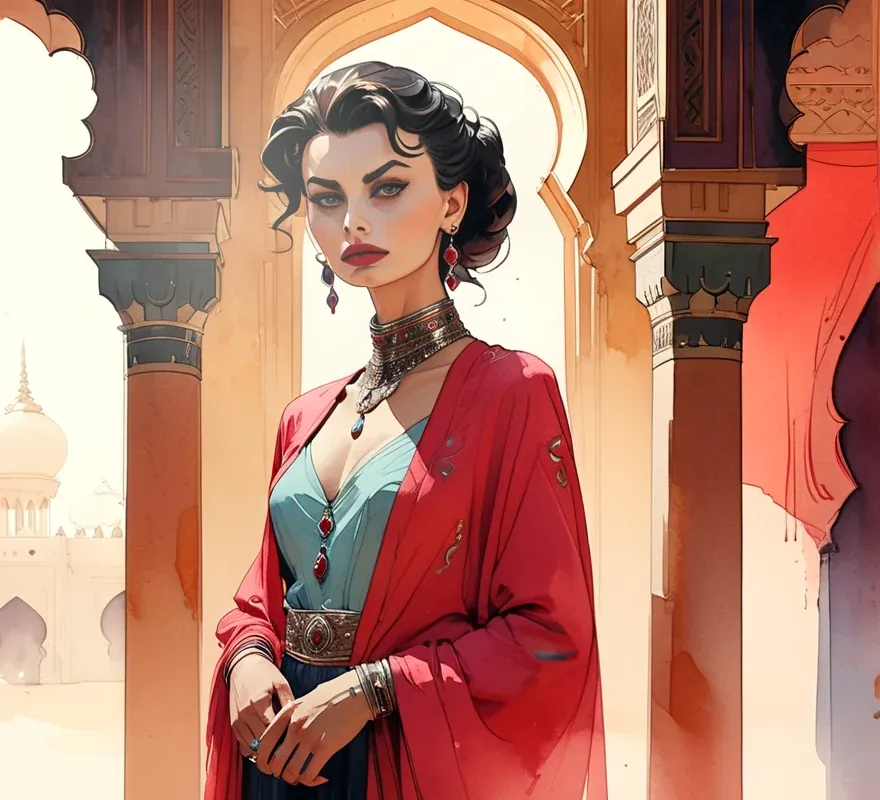
Generated Result
Structural images
The control image has a per-pixel correspondence to the generated image. It should be the same size of the canvas. Elements of the control image will appear in the generated image in the exact same position (or at least close).
Scribble
Scribble, line art, and soft edge use sketches and lines as input. These can be generated or drawn by hand.
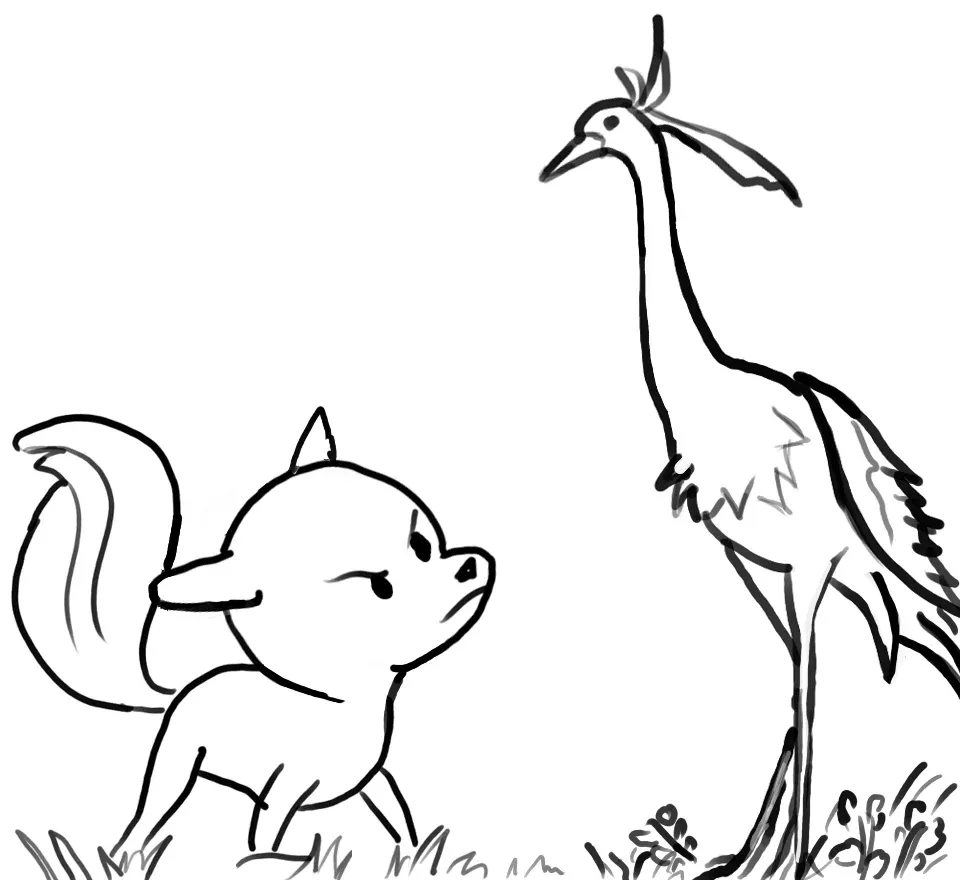
Control Image
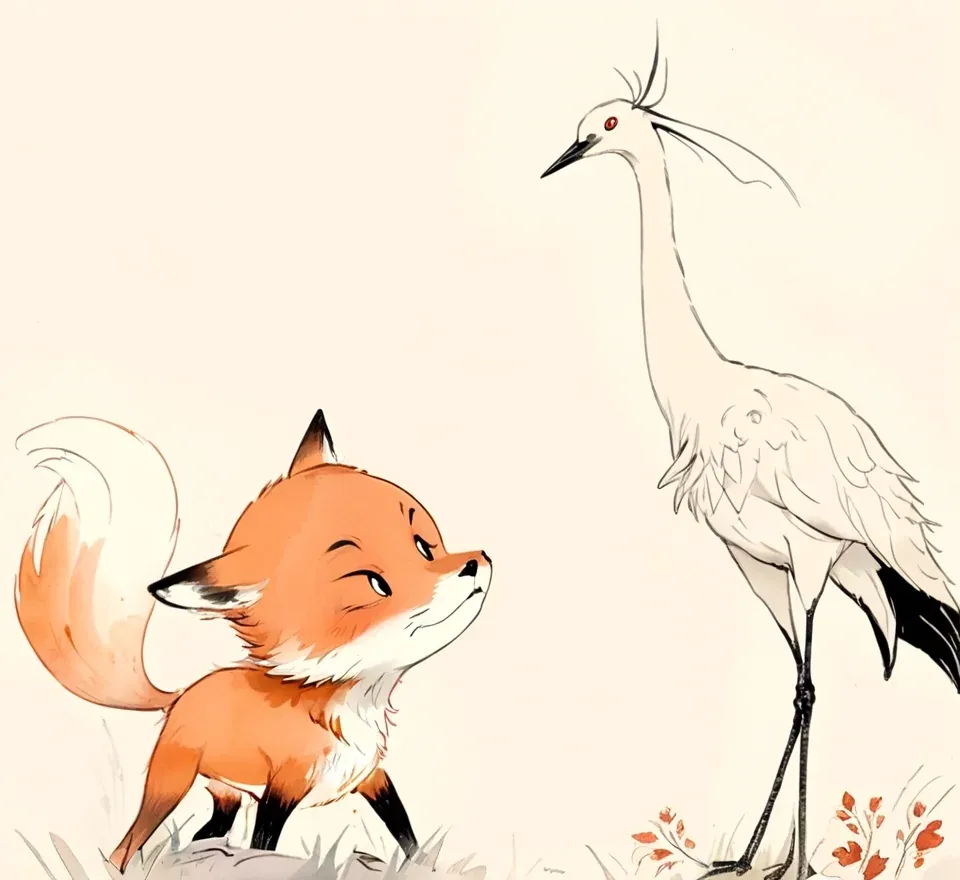
Generated Result
Line Art
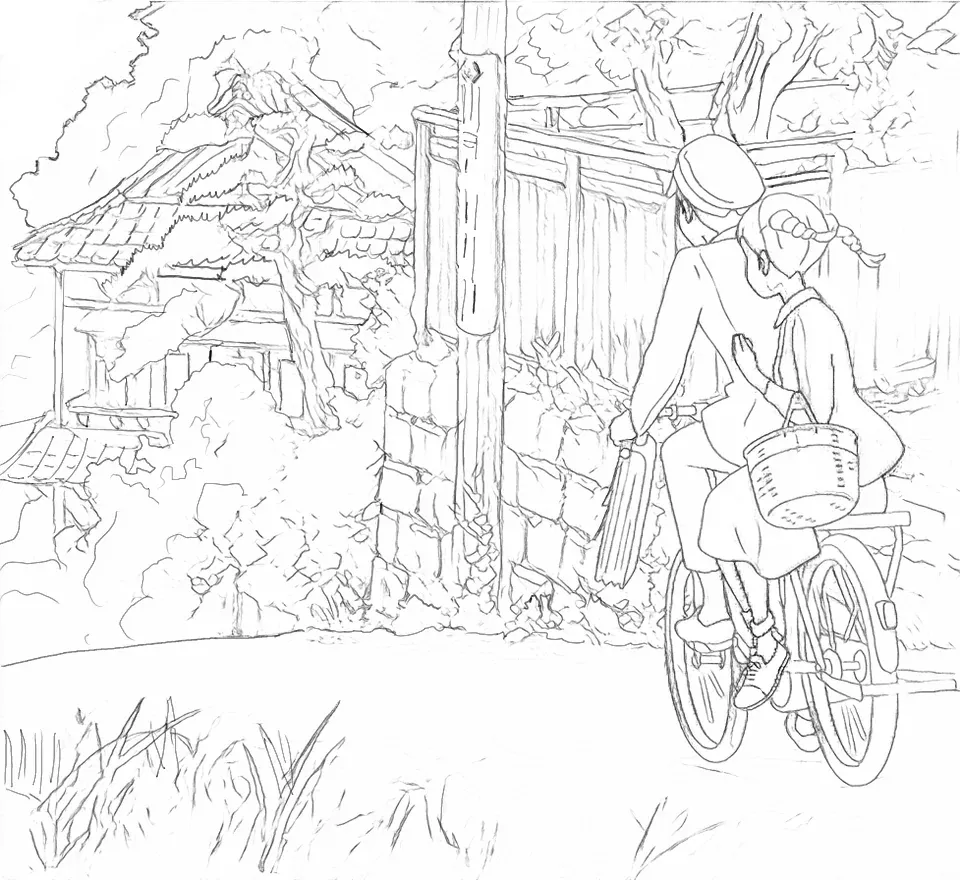
Control Image
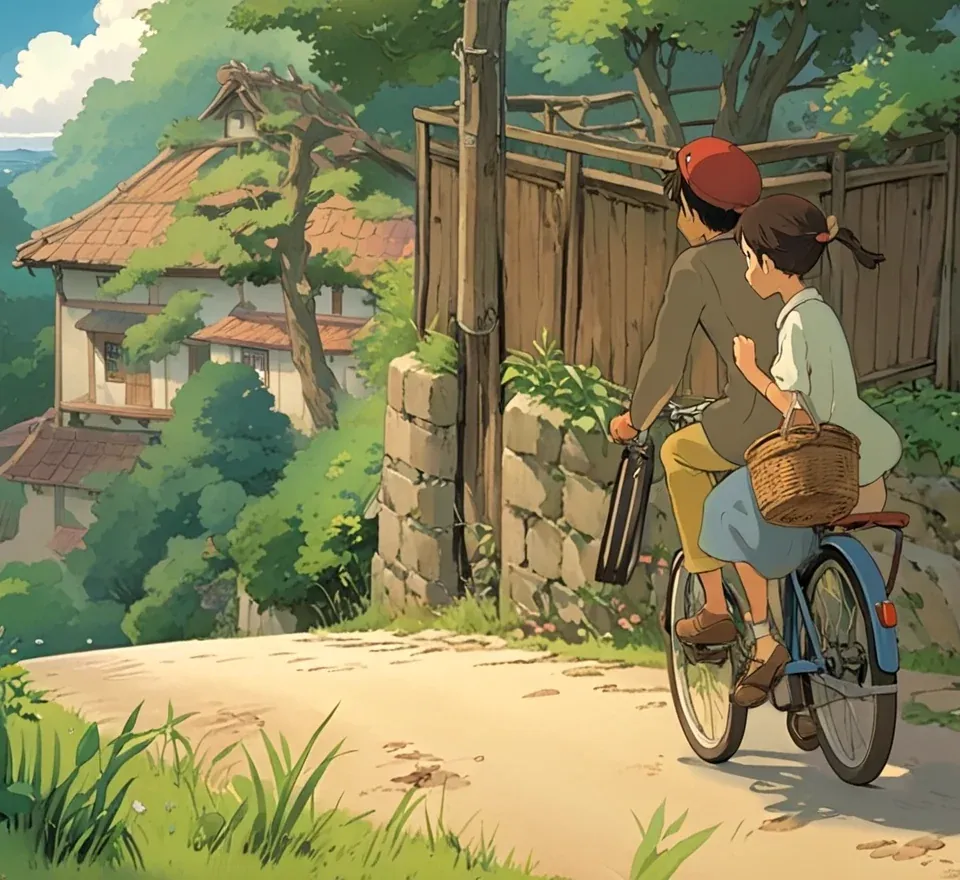
Generated Result
Soft Edge
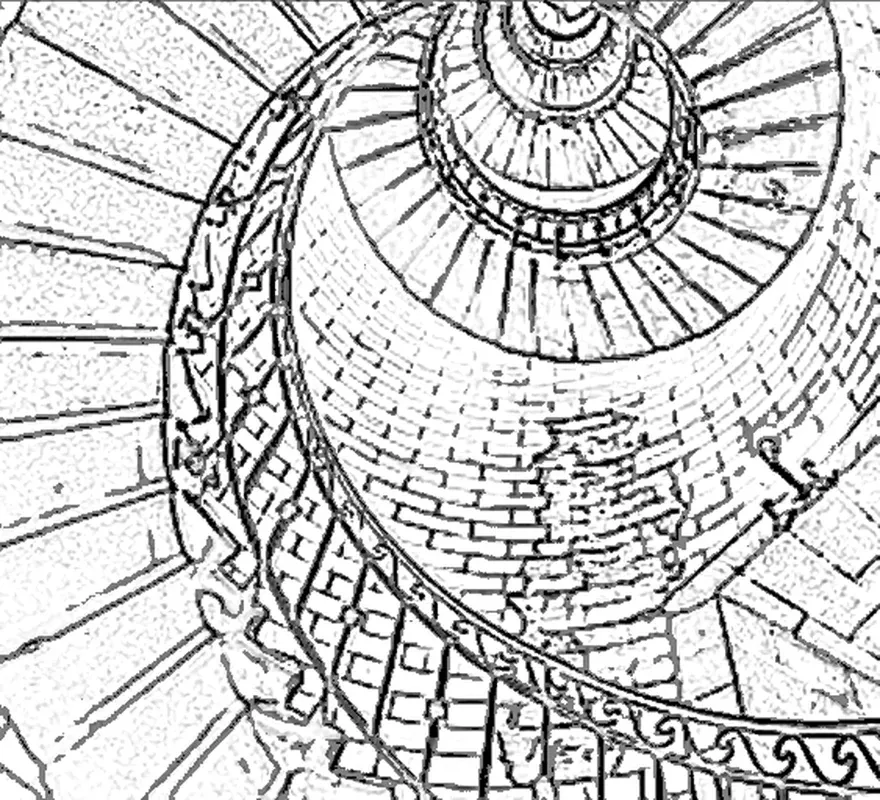
Control Image
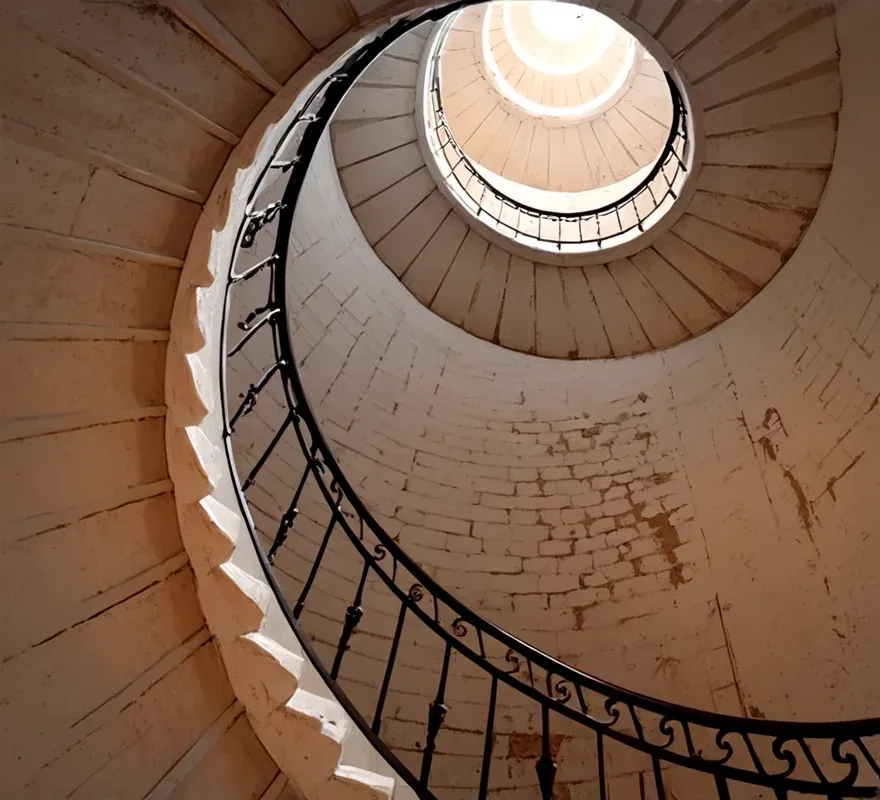
Generated Result
Canny Edge
Canny edge input is usually generated from existing images using the Canny edge detection filter.
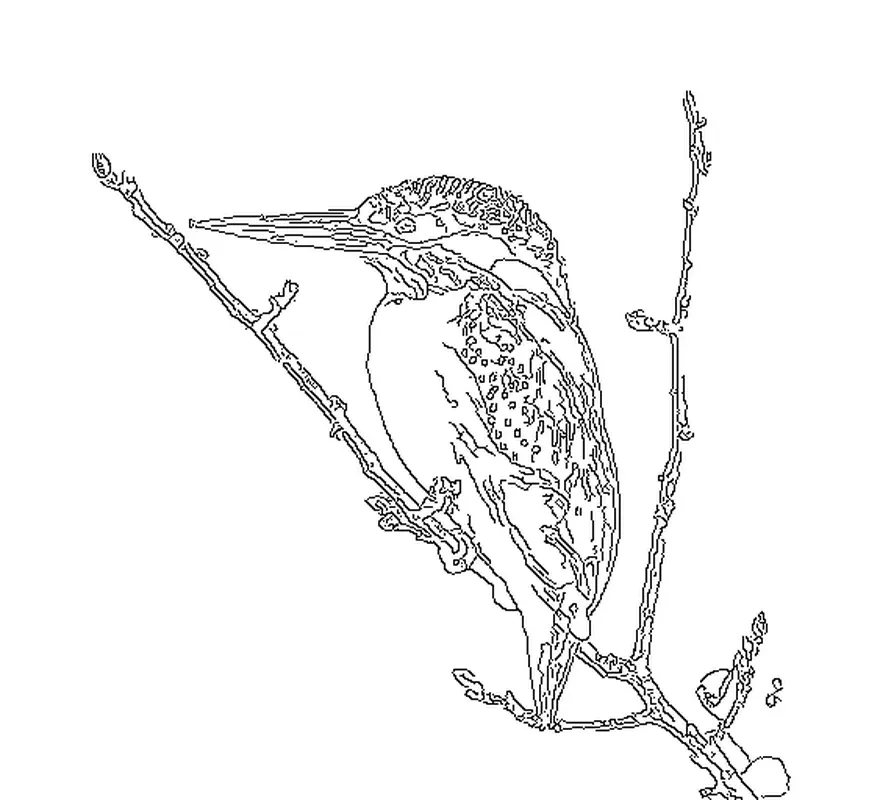
Control Image
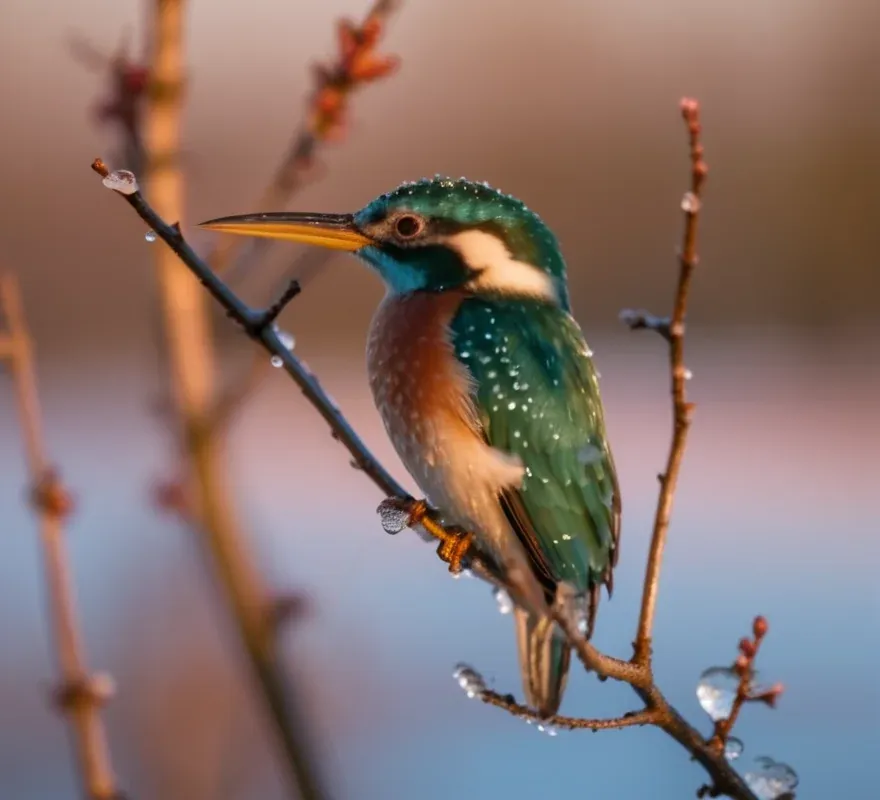
Generated Result
Depth
Depth and normal maps can be rendered from 3D scenes in software like Blender.
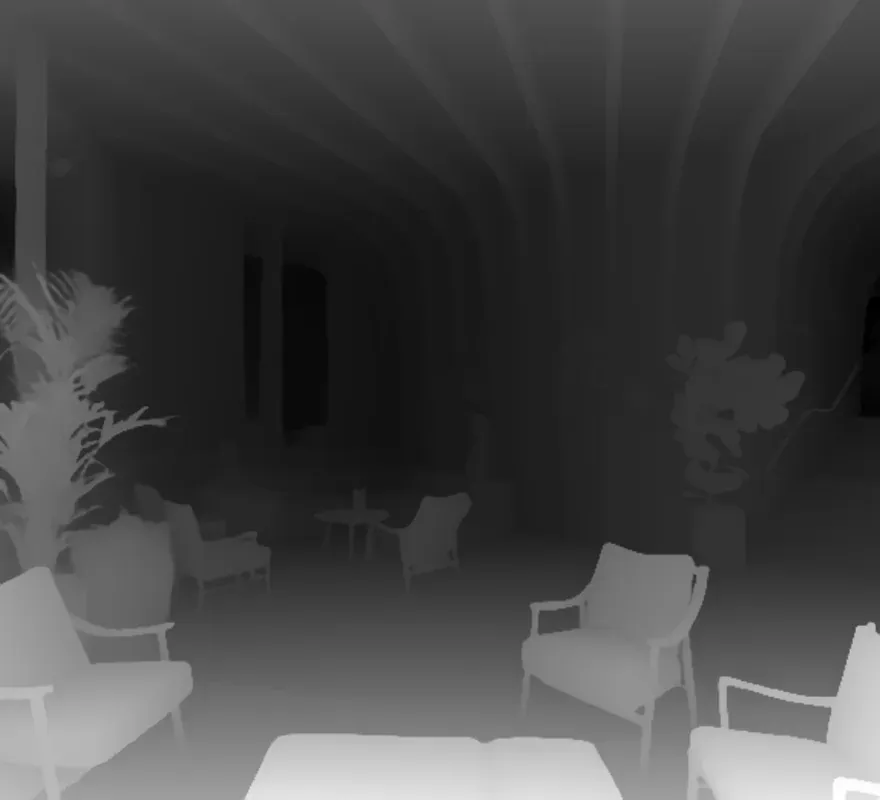
Control Image
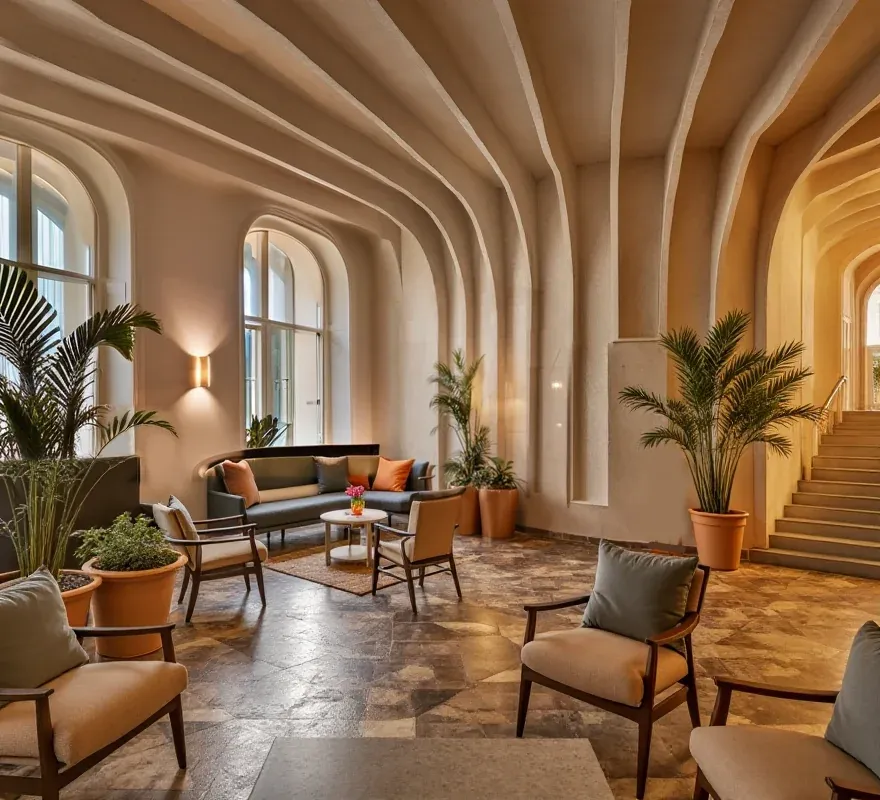
Generated Result
Normal
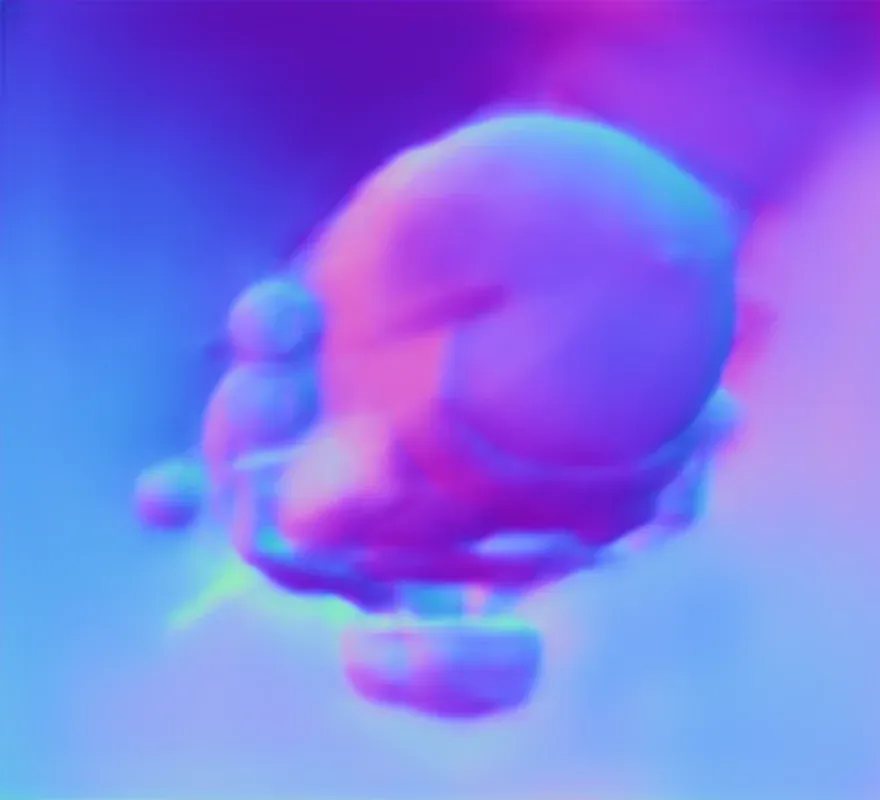
Control Image
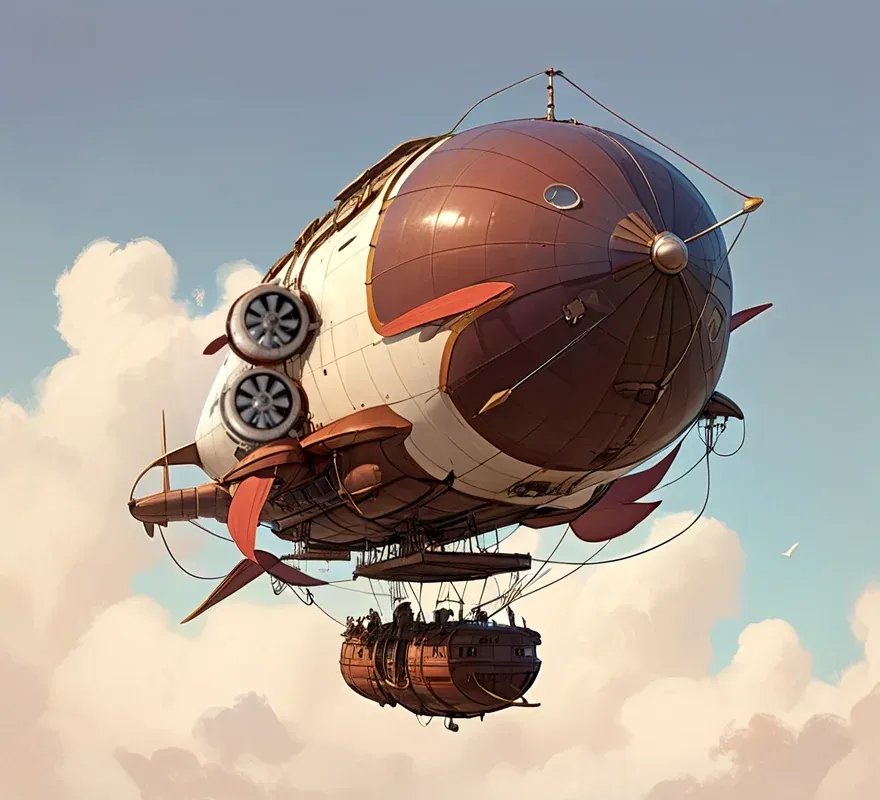
Generated Result
Pose
Pose uses OpenPose stick figures to represent persons. It can be edited with Krita’s vector tools.
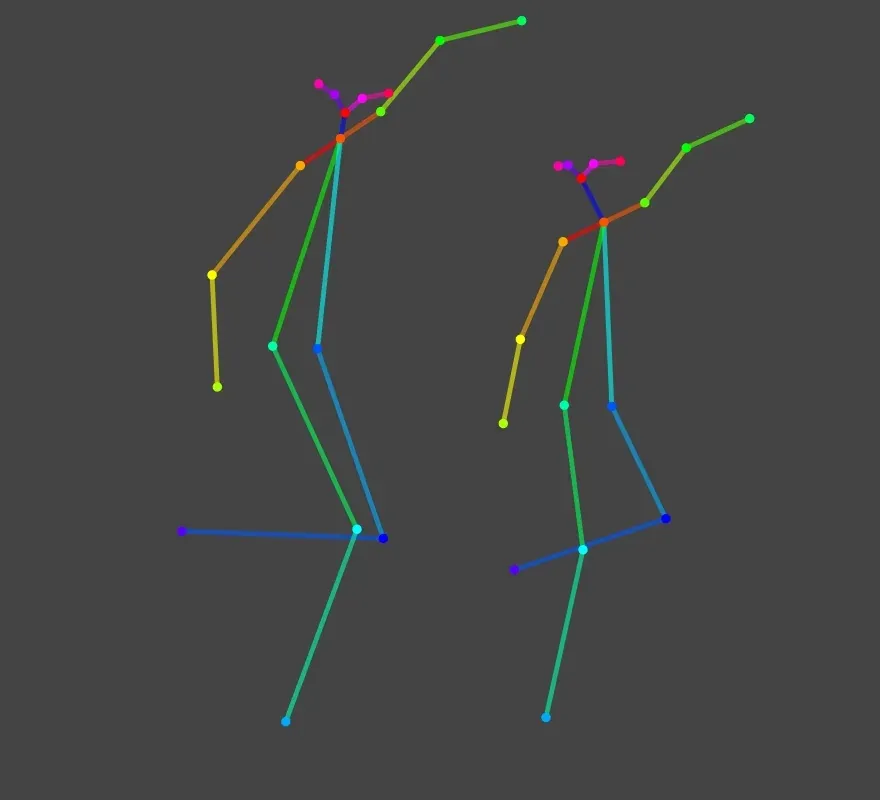
Control Image
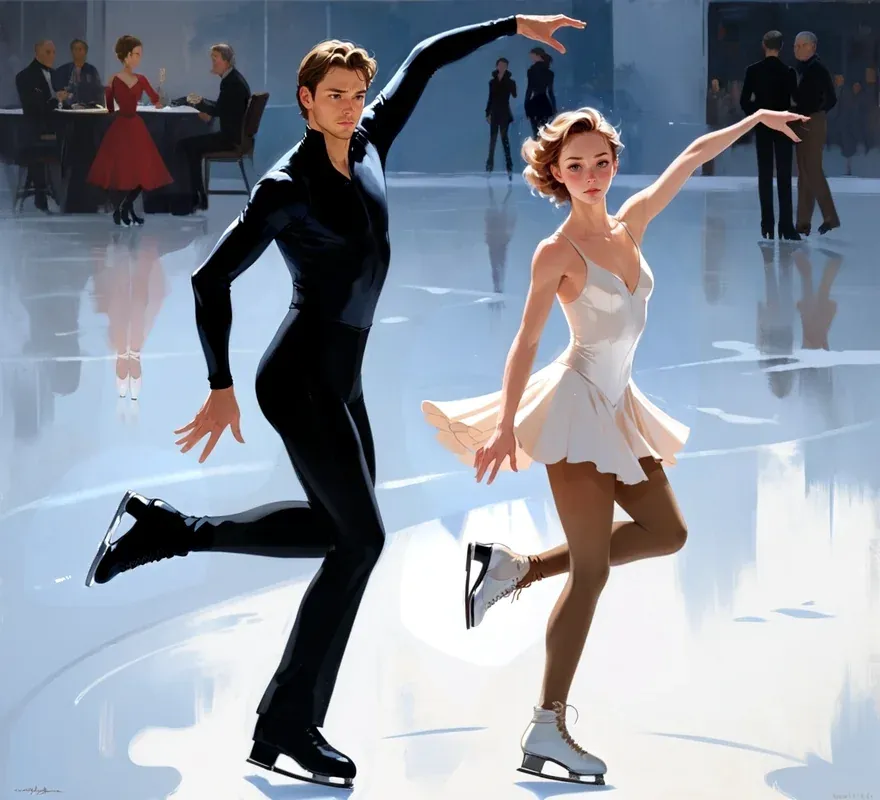
Generated Result
Segmentation
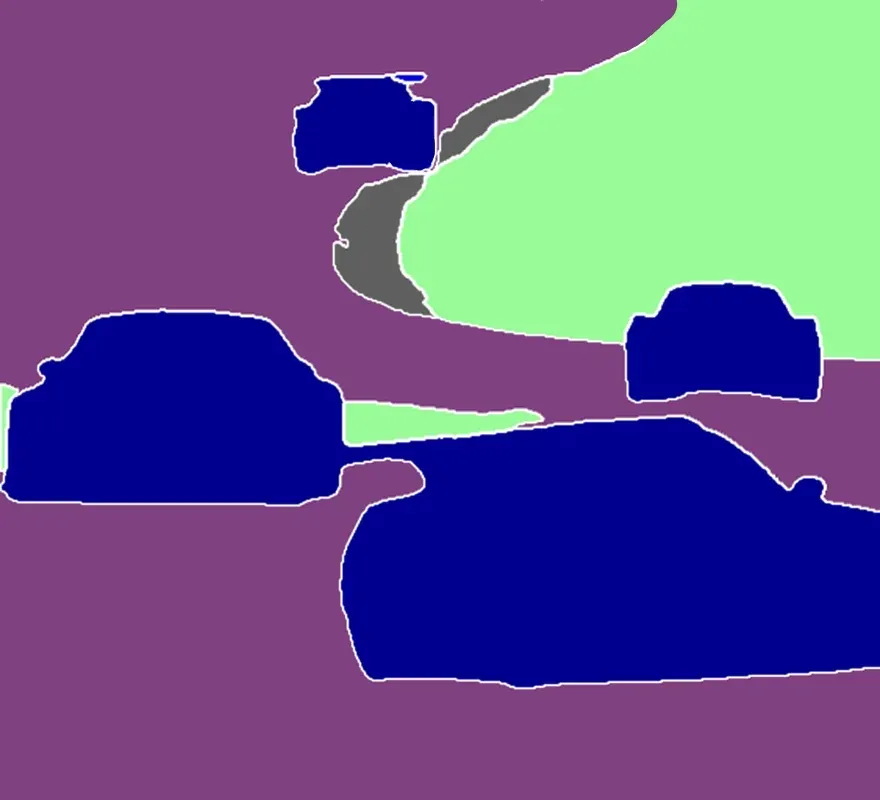
Control Image
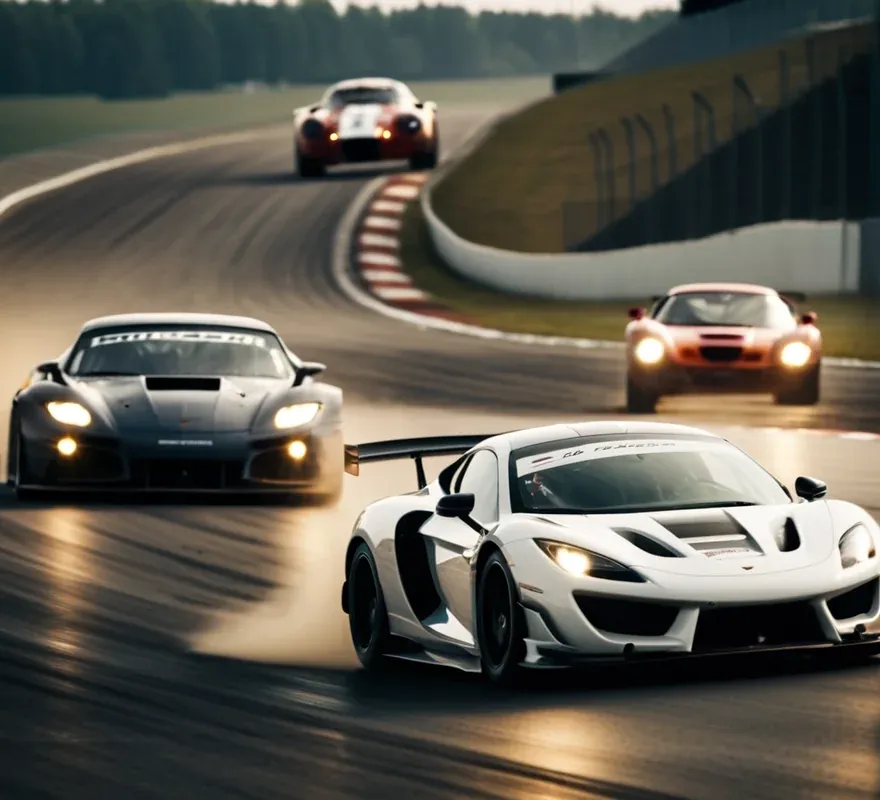
Generated Result
Unblur
The control input is a blurred version of an image. At high strength the result will be very similar to the input, but less blurry (if resolution allows). In combination with advanced options this can also be used to generate faithful copies of an image while allowing certain limited modifications.
Control Image
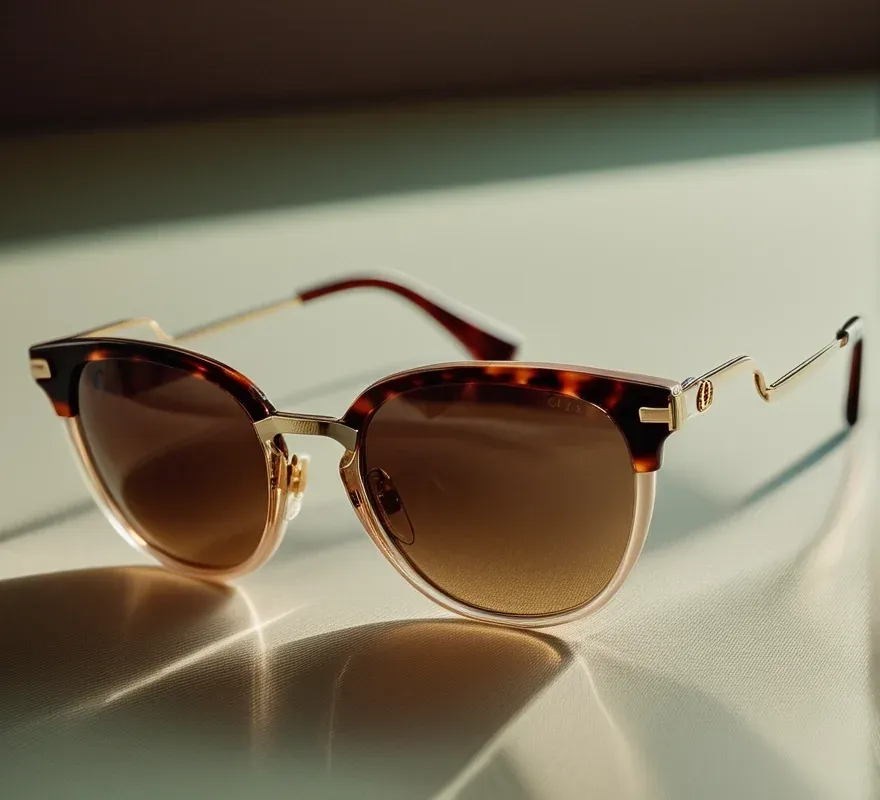
Generated Result
Stencil
The input is a black and white image. It acts as a pattern which is imprinted on the generated image. Originally this was used for creative ways to represent QR codes.
Control Image
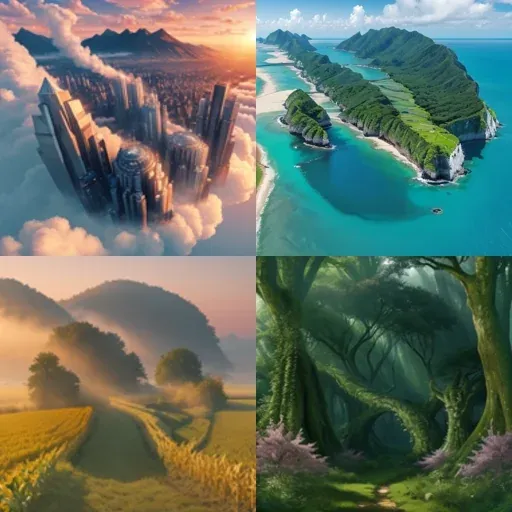
Generated Result
Hint: Stepping away from the screen or squinting might help to see the effect.
