Selection Fill
Using selections to modify parts of the image is a key feature of the plugin. It allows you to apply AI generation exactly where you want. You can work on an image iteratively, mixing traditional painting tools and generated content as needed. This is also known as inpainting.
Generation mode
Creating a selection will transform the “Generate” button to reflect the operation. By default this is either , or , depending on the selection context. But there is also a drop-down which allows you to choose a more specific action which may yield better results.
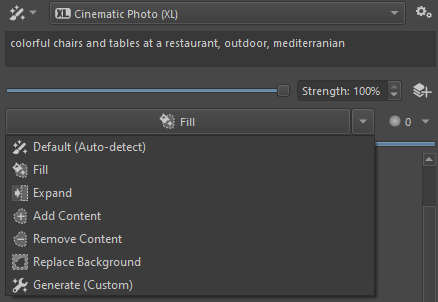
Fill
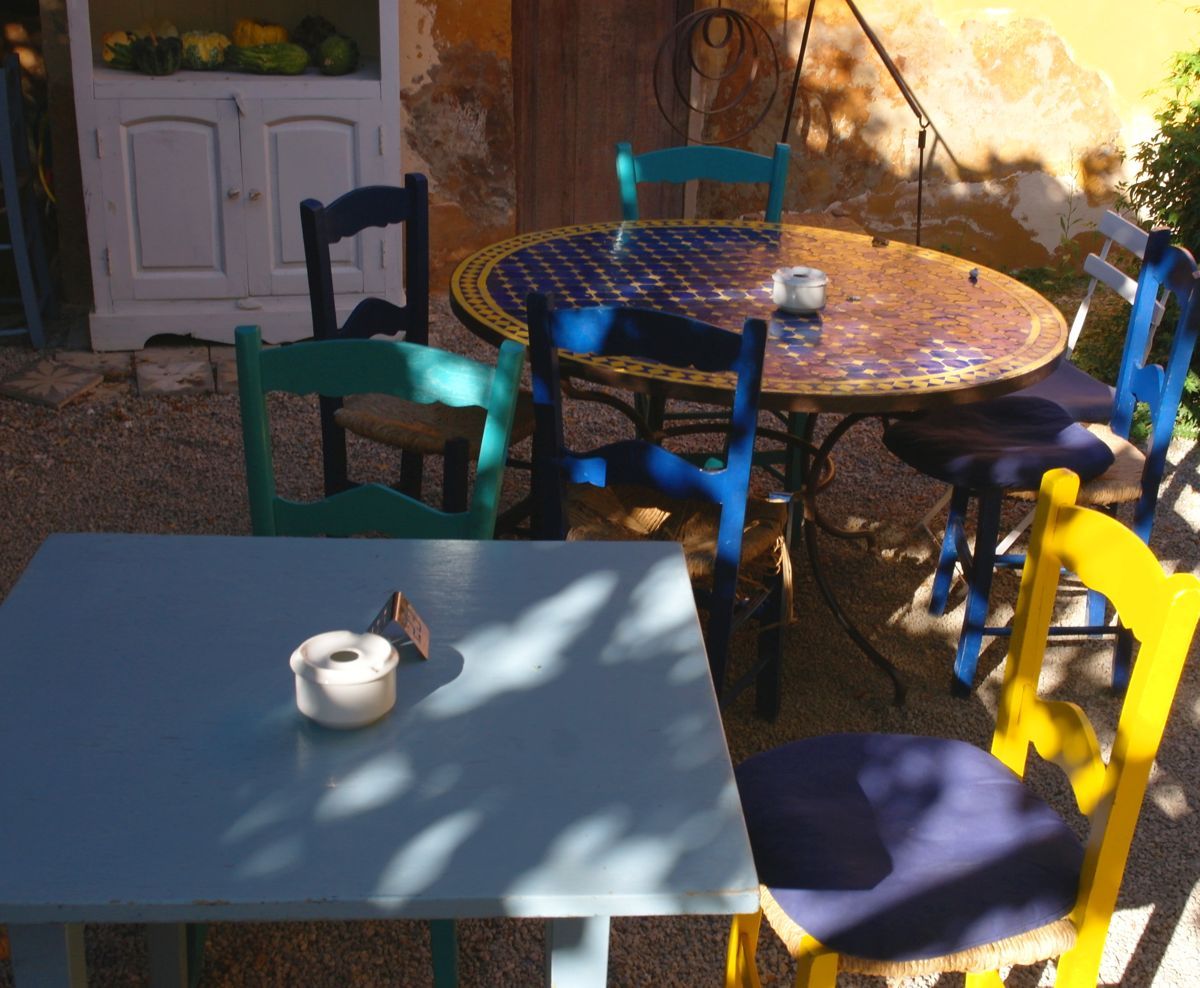
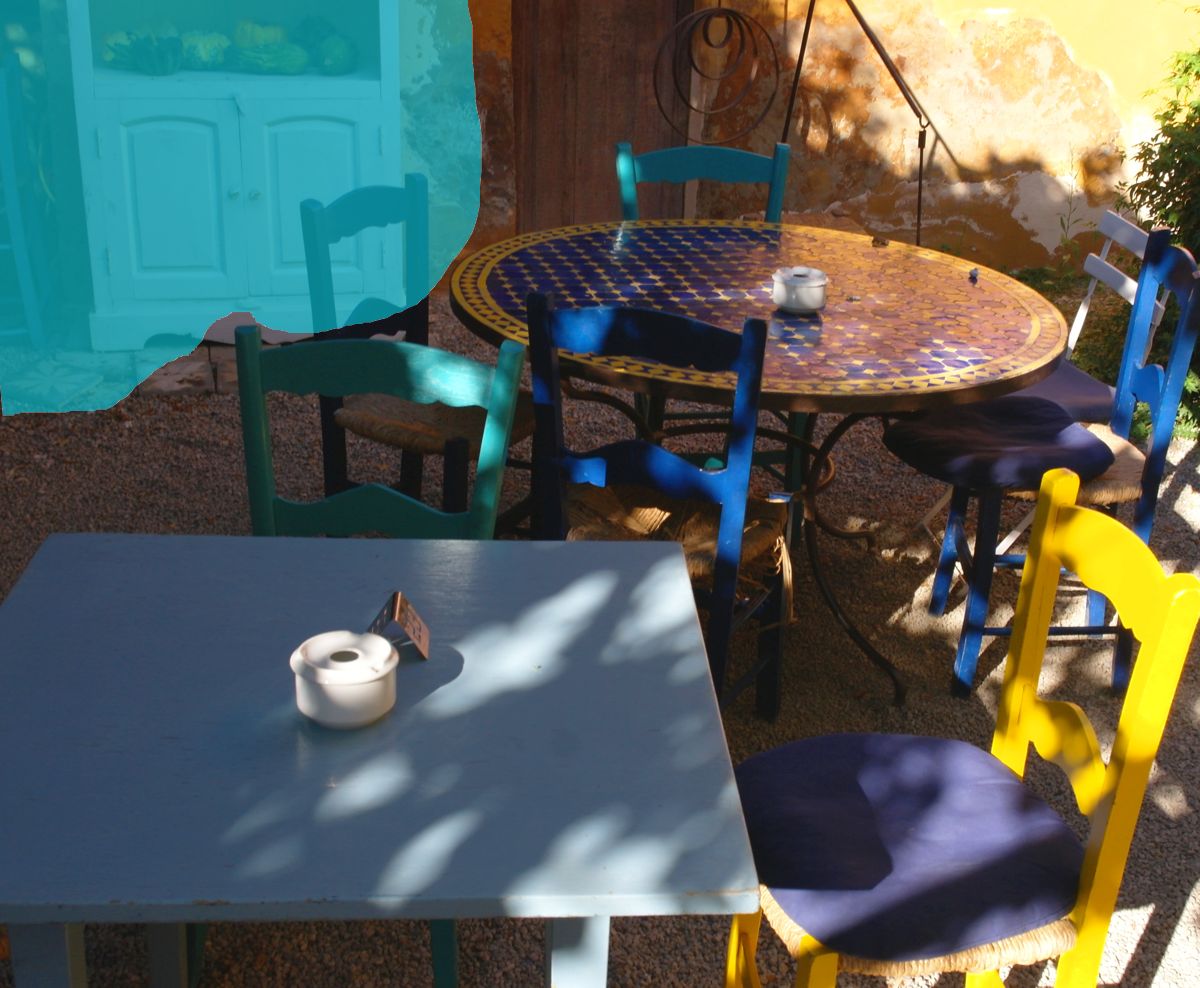
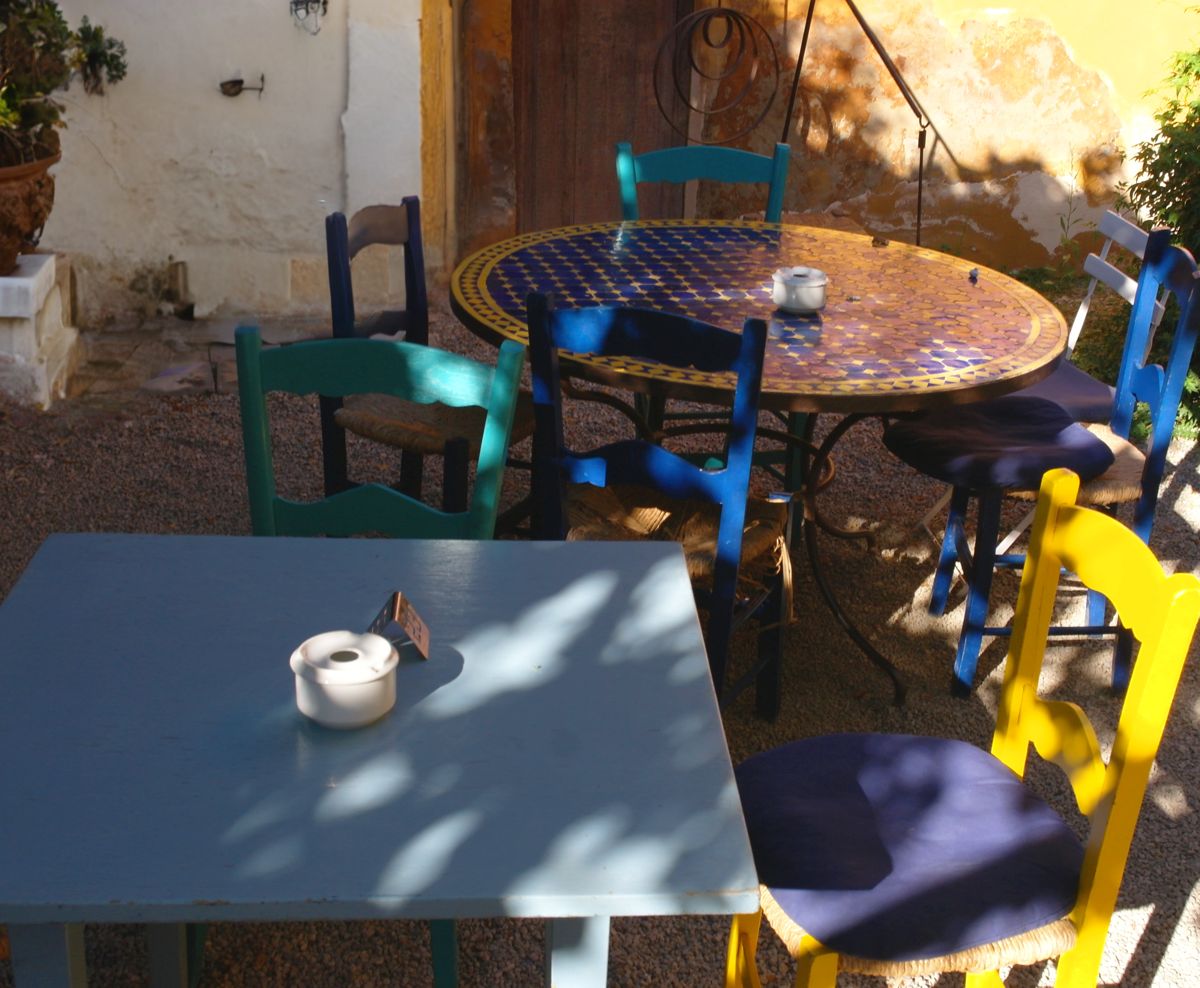
This is a general purpose mode that fits most scenarios where you want to replace a part of the image with something similar. It may generate new things, but is biased towards using colors found in the vicinity of the selection. It tries to strike a balance between flexibility to make changes and blending in with the rest of the image.
| Original | |
|---|---|
 |
| Mask | Result |
|---|---|
 |  |
Expand
This mode is geared to expanding the image at the left, right, top or bottom. You can expand into more than one direction at once, but it requires more resources (memory and time). The easiest way to expand the canvas is to use Krita’s crop tool (hotkey: C) and click anywhere into the image. You can now resize the canvas at the sides. Select the blank areas and click Expand to generate content.
| Mask | Result |
|---|---|
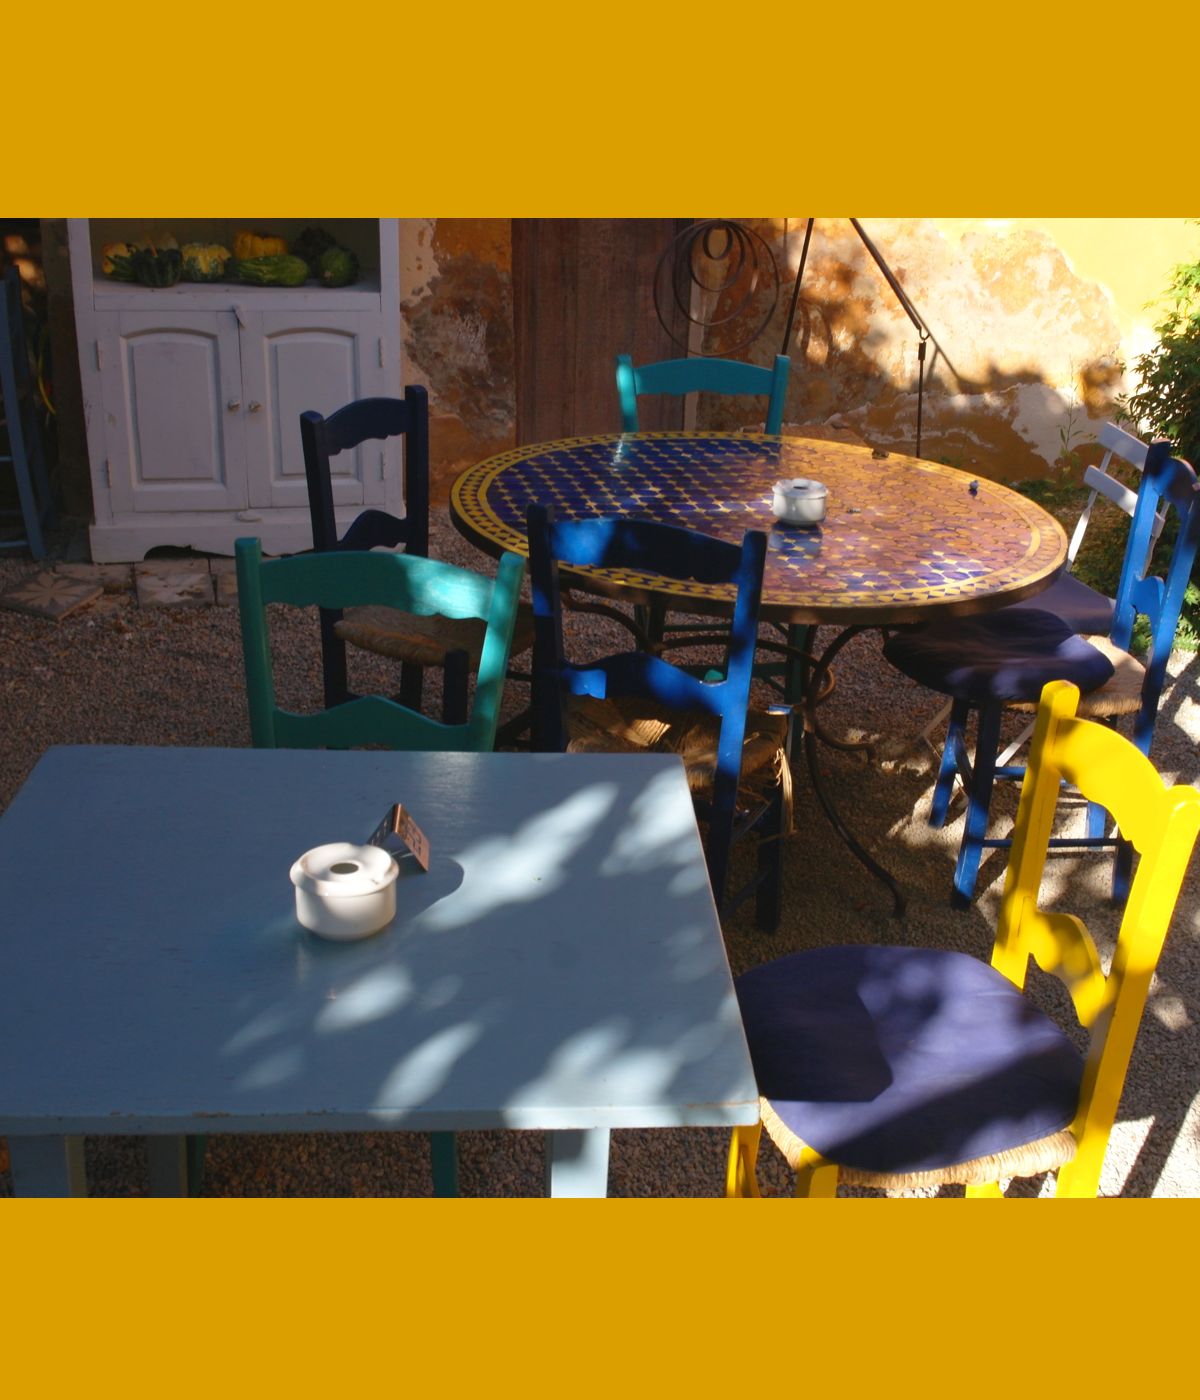 | 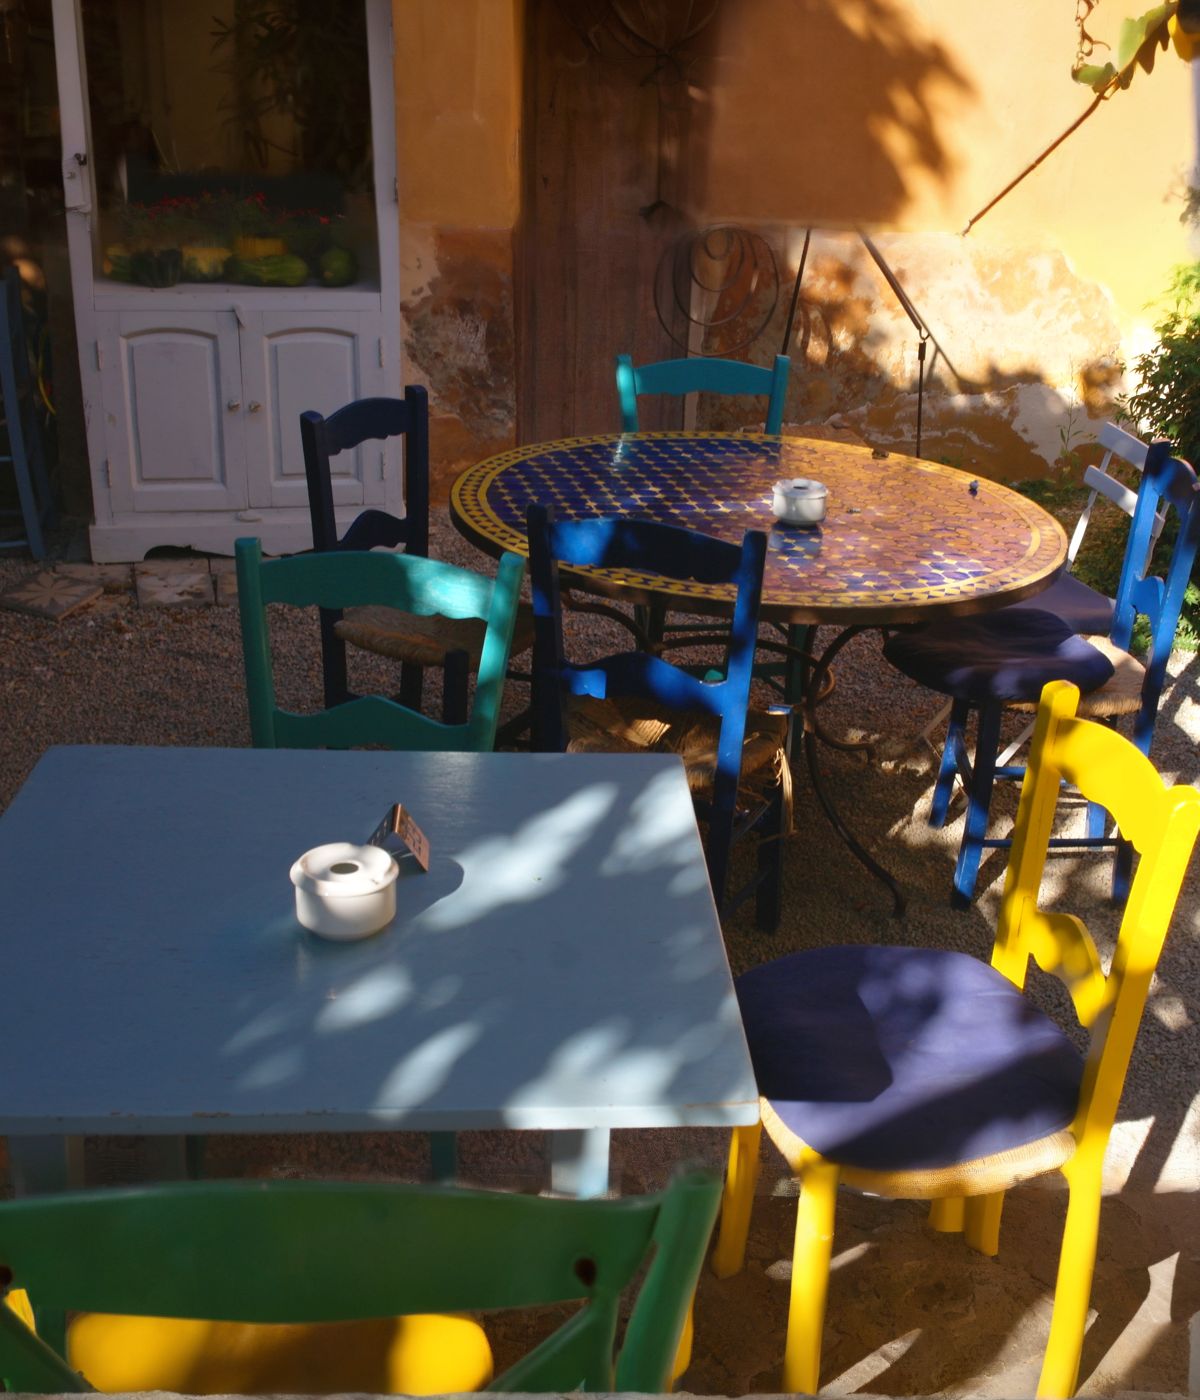 |
Expand completely ignores existing content in the selection area, it can be blank or anything else. It attempts to blend in with the colors used at the border of the selection, and prefers to generate more of the same, rather than being overly creative.
Add Content
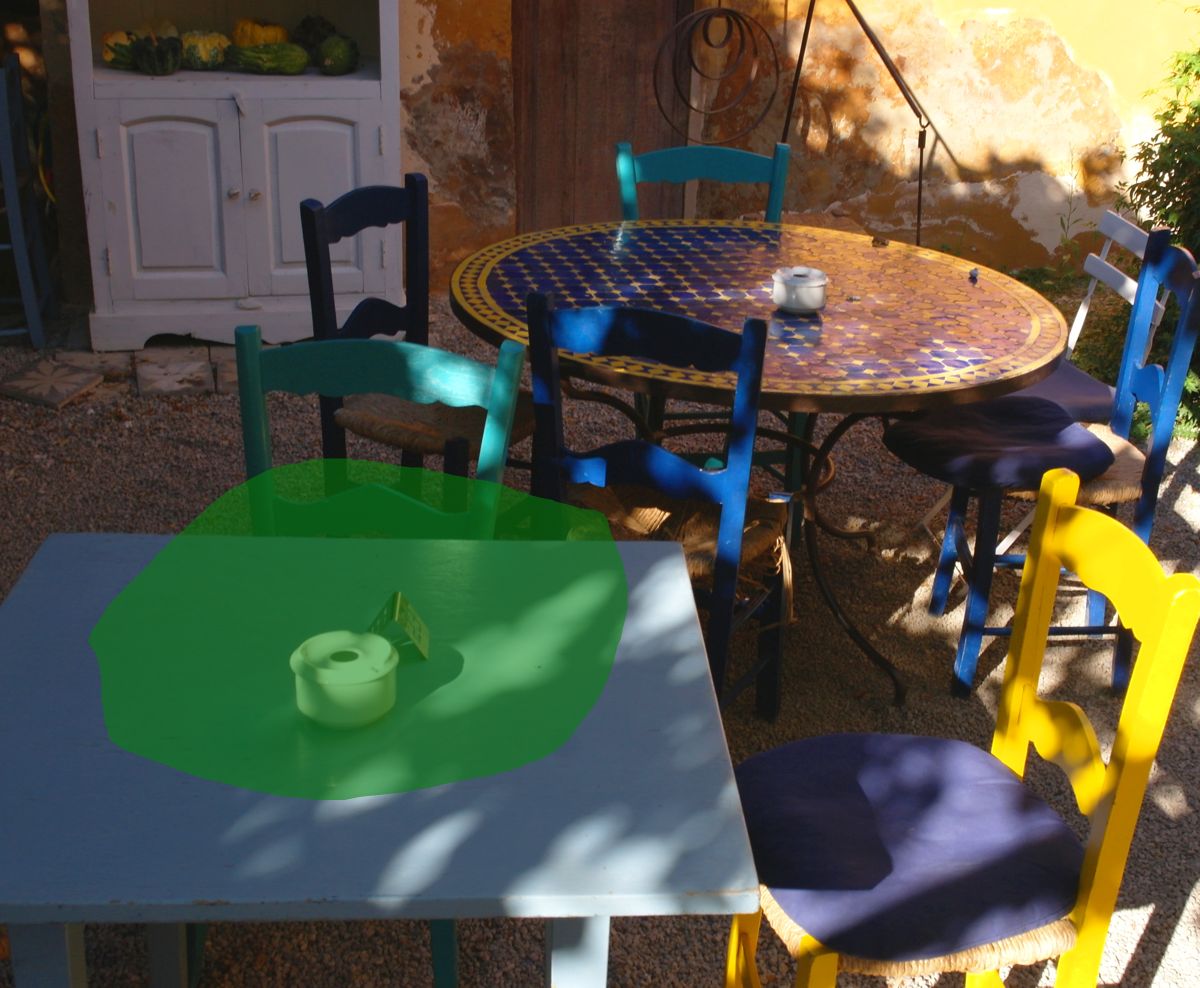
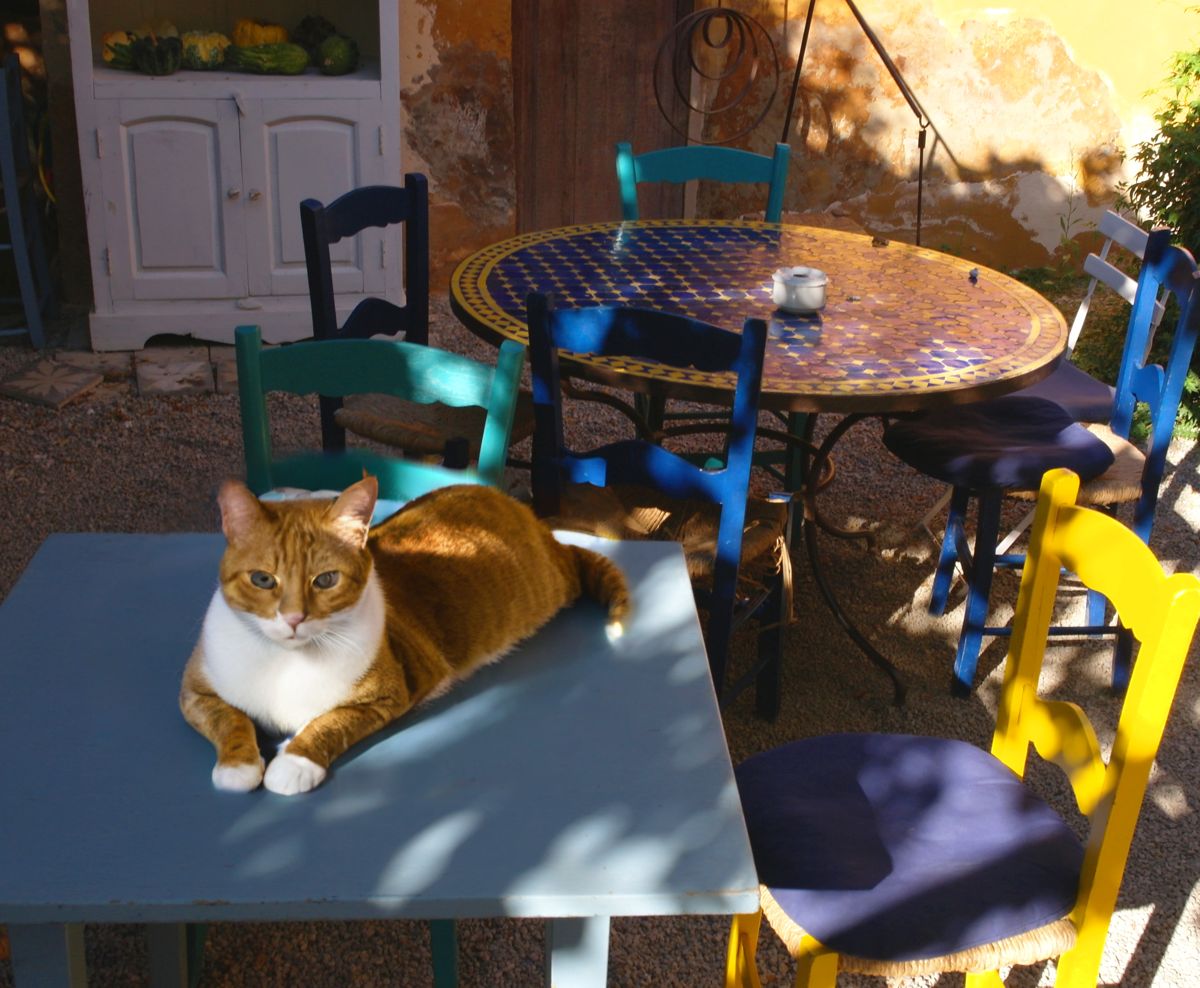
Use this mode to add new things to the image. This mode requires you to use text or control layers to describe the new content you want to see. It generates with the flexibility to drastically deviate from the colors seen in the rest of the image, and may not blend as well as other modes.
| Mask | Result |
|---|---|
 |  |
Remove Content
This mode is geared towards object removal. It ignores existing content in the selection area and fills it with a continuation of the surroundings instead.
| Mask | Result |
|---|---|
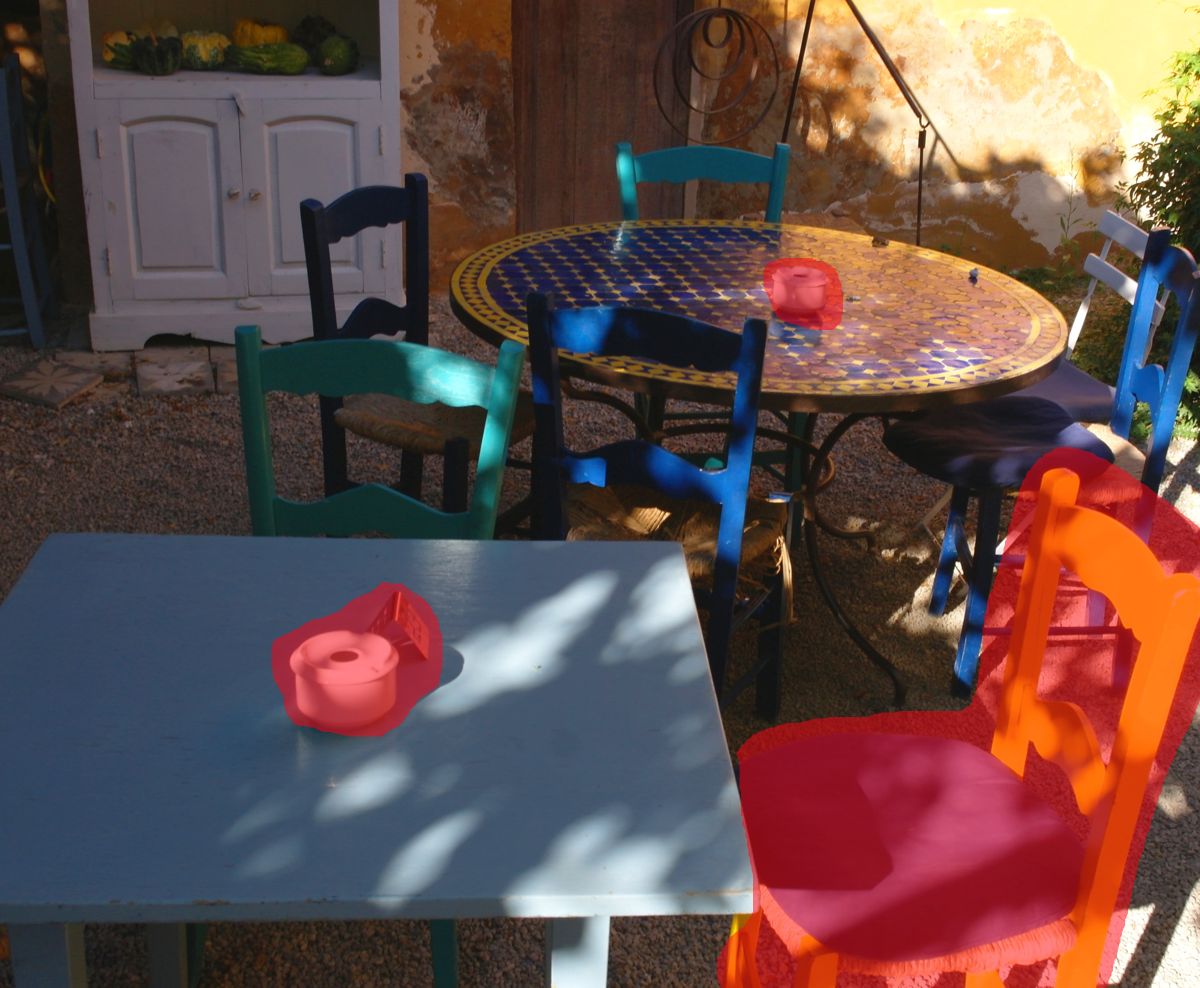 | 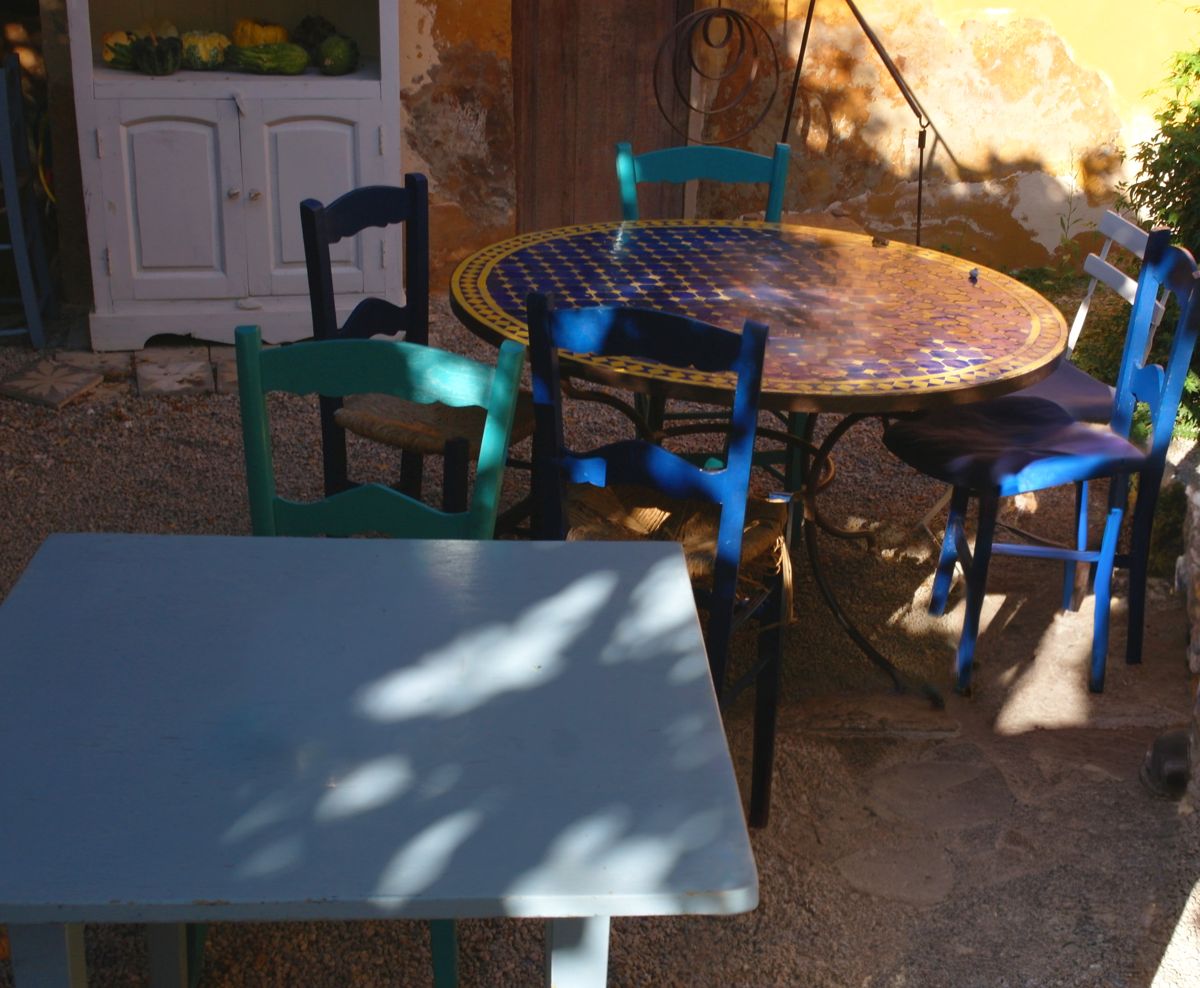 |
Replace Background
An experimental mode where you can select a forground object. The selected content is kept, and everything else in the image is replaced. This mode requires you to use text to describe the new background.
| Mask | Result |
|---|---|
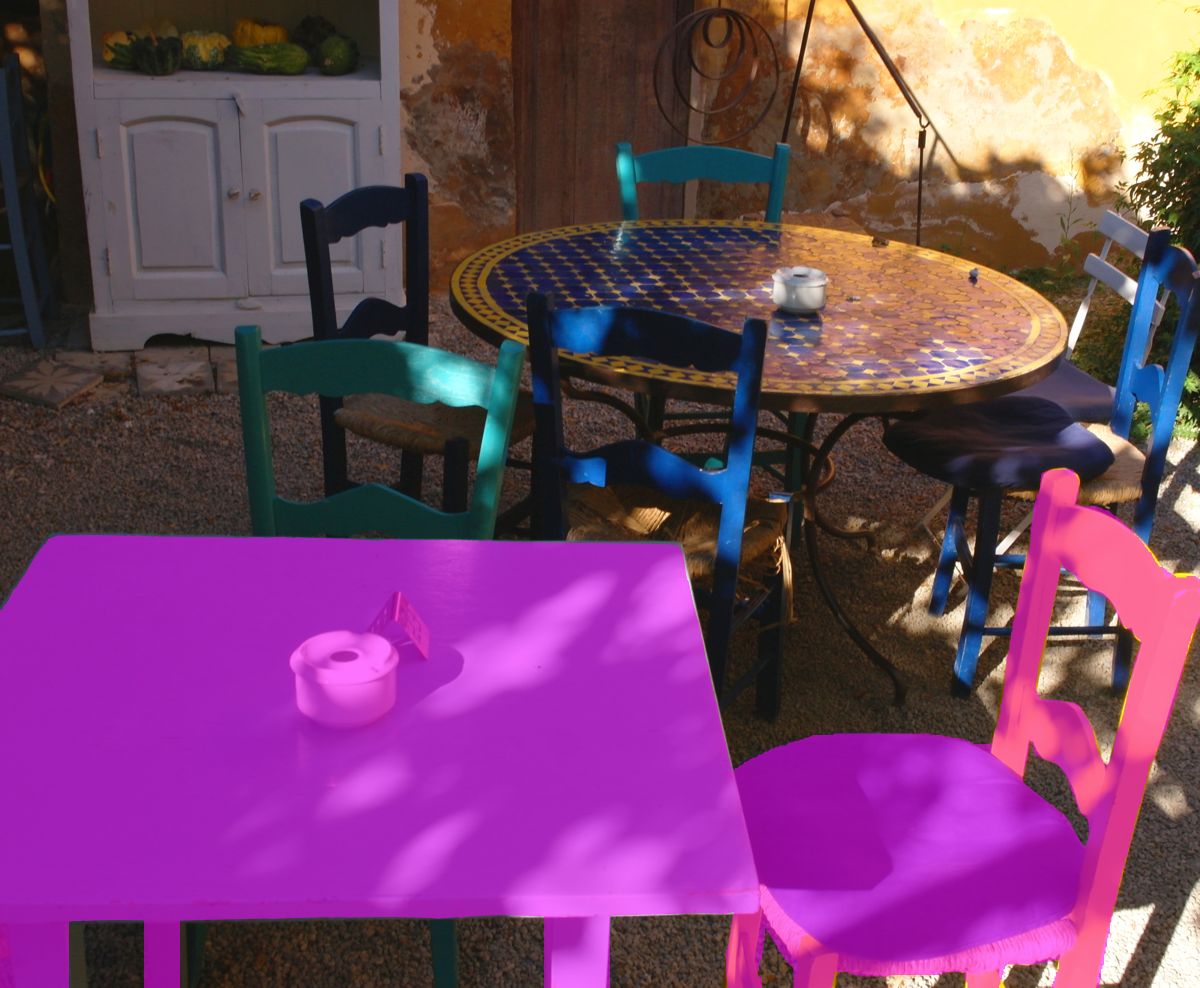 | 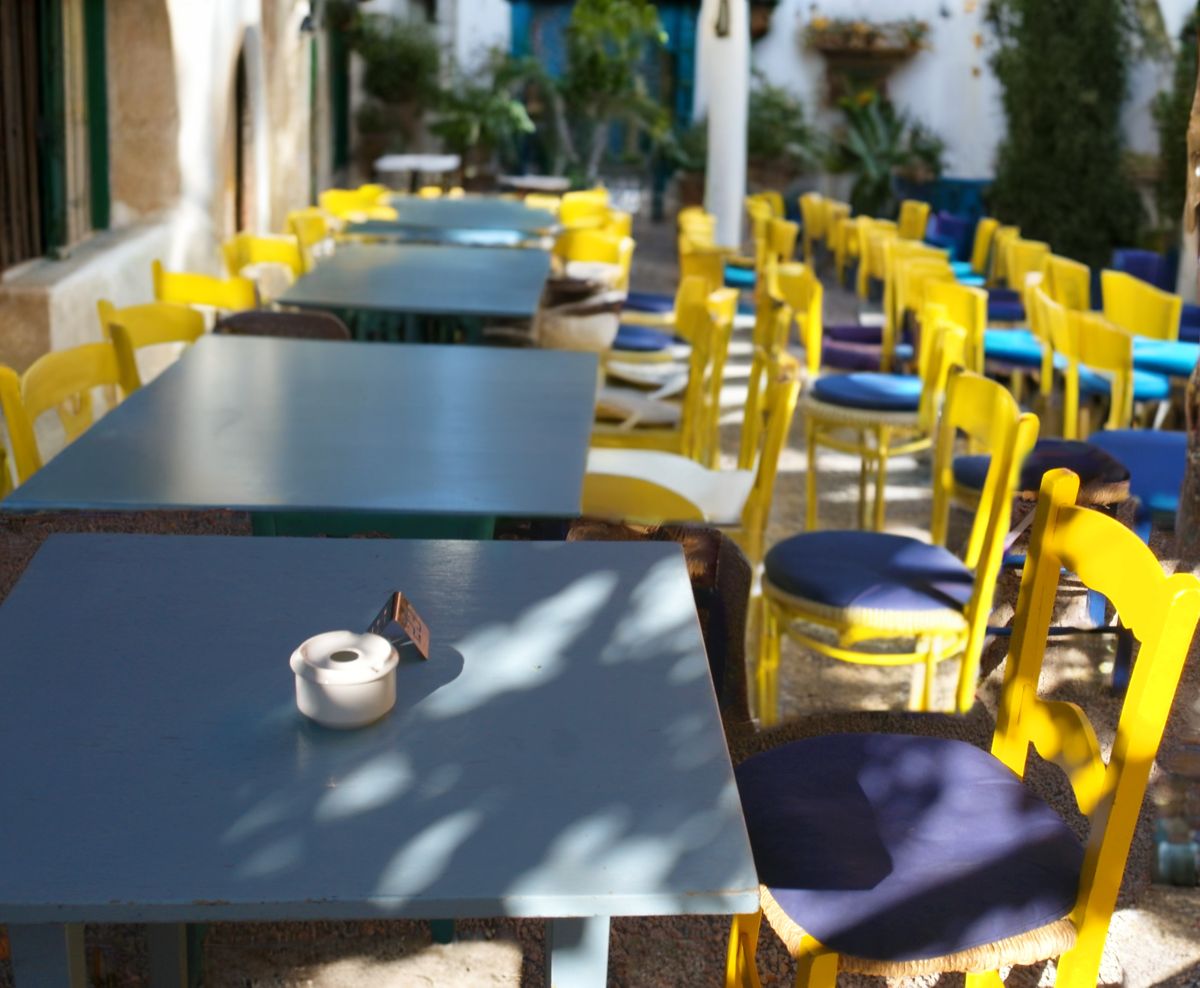 |
Note: inpaint models aren’t trained for this particular use case, complex interactions between foreground/background require some luck.
Custom Generation
If none of the modes quite fit, there is also the option to configure generation parameters manually.

- Seamless: When enabled, an inpaint model is used to make generated content blend in with the existing image as best as possible. In some cases you may want to explicitly disable this, for example when generating a single panel within a comic page. When disabled, generation will behave as if the seleted area was its own image within the canvas, independent of the rest.
- Focus: When disabled, the text you enter describes the entire context area (see below). Enable this to focus your prompt exclusively on the selected area instead.
- Fill: This defines how the selected area is filled before generation, and can influence what kind of results are possible.
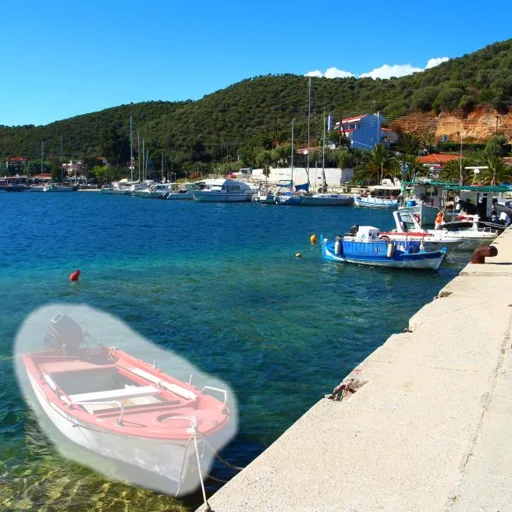
- None means the image content is not touched at all, which allows you to paint it over as you see fit.
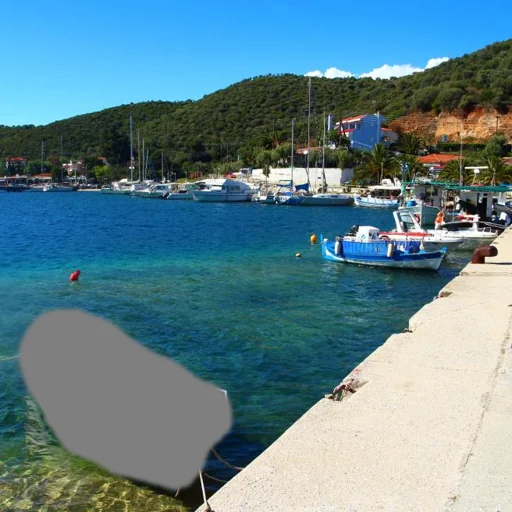
- Neutral allows to generate anything without bias.
- Blur will blur existing and surrounding content together.
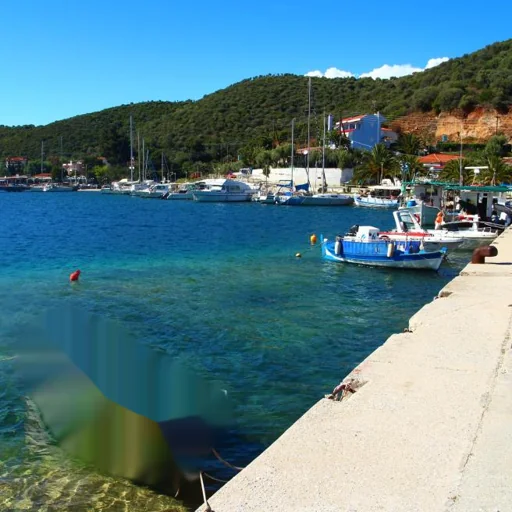
- Border ignores existing content and takes colors only from the surrounding.
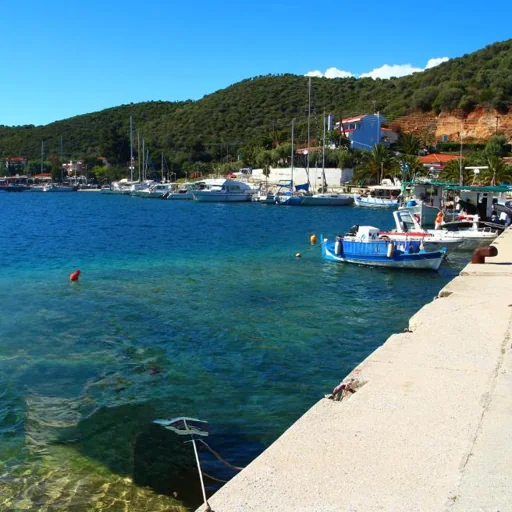
- Inpaint fills the selected area using a small, specialized AI model.
Visualization of the fill modes: (note that these are not final results, they only show pre-processing)
| Input | |
|---|---|
 | |
| Neutral | Blur |
 |  |
| Border | Inpaint |
 |  |
Context area
When generating content for the selected area, part of the surrounding image is processed as “context”. This is required to get good results that blend in. A larger context area improves coherency with the rest of the image, at the cost of slower speed and increased memory requirements. You always pay for the entire context even if it isn’t touched, not just the masked area.
By default the context is selected automatically. It can be influenced by changing Settings > Diffusion > Selection Padding. Note that there are also internal constraints and tweaks to select a suitable region. Custom Generation offers some additional options:
- Selection Bounds: use only the selection area. This makes sense when Seamless is disabled, but won’t allow it to work properly if it’s on.
- Entire Image: use the entire image as context. Best coherency, but slow and image quality suffers at high resolutions.
- Custom Layer: use the area indicated by a Selection Mask or Transparency Mask layer. Full control!
Working with Selection Masks
This is an example workflow that uses selection masks to define a custom context.
First, make sure you have “Global Selection Mask” enabled in Krita.
Use rectangular selection tool to mark your context area.
Save your selection mask (the dashed circle icon marked below), and optionally give it a nice name. Then create the selection which you want to fill (like some badly generated hands).
In custom generation menu, select your mask as context. You can reuse it any time you need.
Selection settings
Your selection defines a basic mask where new content is generated. To make it more robust and allow changes to be integrated with the rest of the image, the mask is usually processed by the plugin before it is used. This section goes into more detail and shows how diffusion settings influence the mask.
Mask types
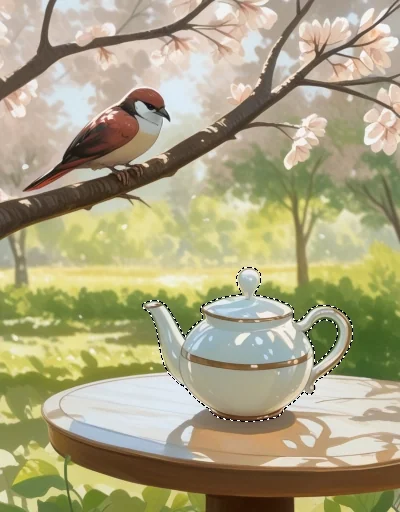
Selection
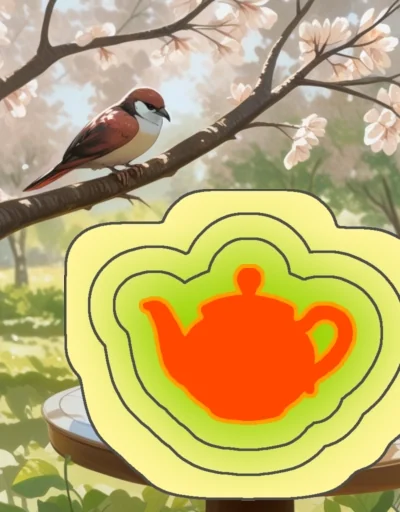
Denoising mask
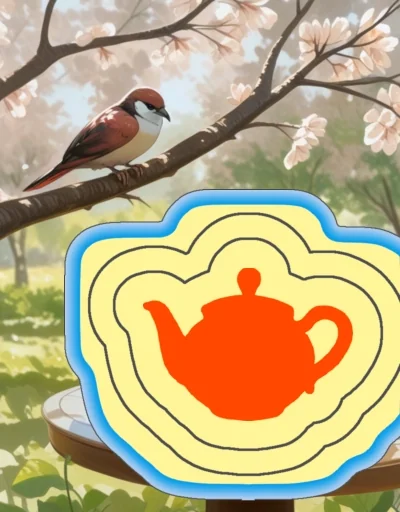
Blend mask (blue)
The plugin derives two masks from the original selection, which are used for different purposes.
- The red area corresponds to the original selection. It always receives changes at full strength (the value configured via the strength slider).
- The orange area is a tiny offset, which helps to avoid issues with outlines of objects when the selection is a bit too tight. It also receives changes at full strength.
- The green/yellow area visualizes how strength gradually decreases towards the edges. The green inner areas are generated at higher strength (more denoising steps), while the yellow outer areas are generated at low strength. Remember that generation happens in multiple steps: the sections further away from the selection remain completely unchanged initially and are only included in the final fine tuning steps.
- The blue area is the blend mask. It is independent from generation, and only used to perform alpha composition of the result with the original image. At the inner edge of the blue area (dark blue) 100% of the result will be applied. Towards the outer edge (light blue) it becomes gradually more transparent.
Note: with typical settings the masks are significantly smaller than in this visualization.
Settings

In the Diffusion settings there are two values that influence the masks:
- Selection Feather: this controls the falloff area of the denoising mask (green/yellow area). It is defined in percent relative to the selection size.
- Selection Blend: this controls the size of the blend mask (blue area). It is defined in absolute pixels.
If both of these are set to 0, all automatic mask processing is disabled. This can make sense if you want to have full control over the selection mask.
There are two more settings which can currently only be configured by editing
settings.json. You can find the file via the link at the bottom of the
Settings dialog. The settings are:
- selection_min_transition: minimum size in pixels of the transition area (green/yellow).
- selection_grow_offset: size in pixels of the orange offset area. This is usually a very small value.
