Edit Models
Edit models are diffusion models which are trained to manipulate an existing image based on text instructions. They are useful when you want to modify a certain aspect of an image, but keep the rest intact. For example:
- Change the pose of a character
- Change the lighting or weather conditions
- Add or remove objects from a scene
- Change the style of an image (e.g. from photo-realistic to cartoon)

Original Image
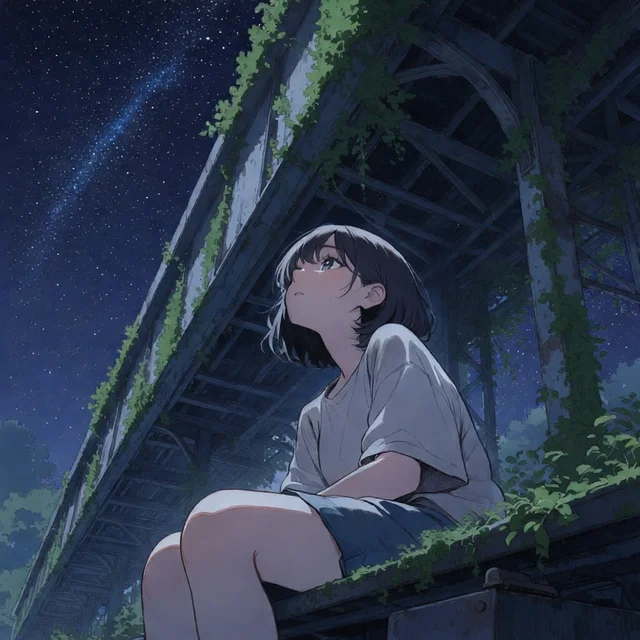
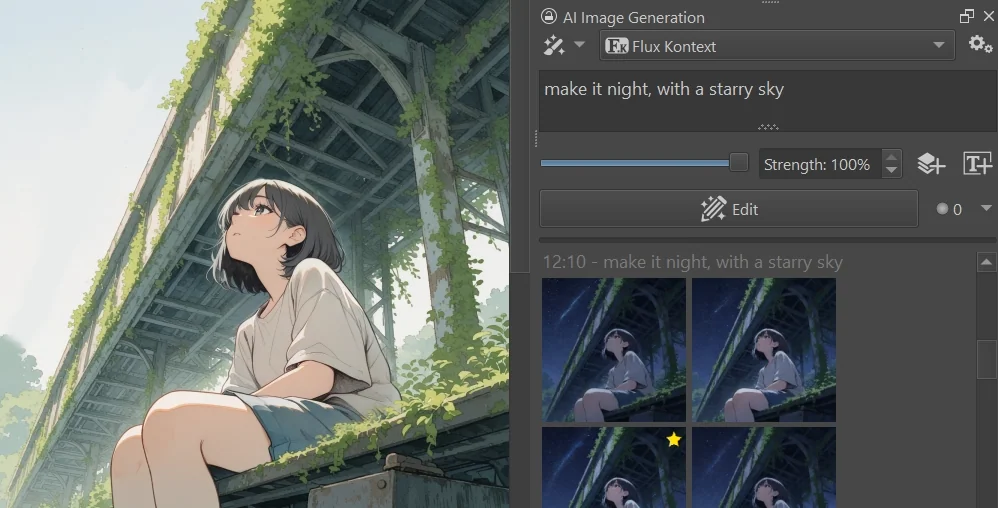
"make it night, with a starry sky"
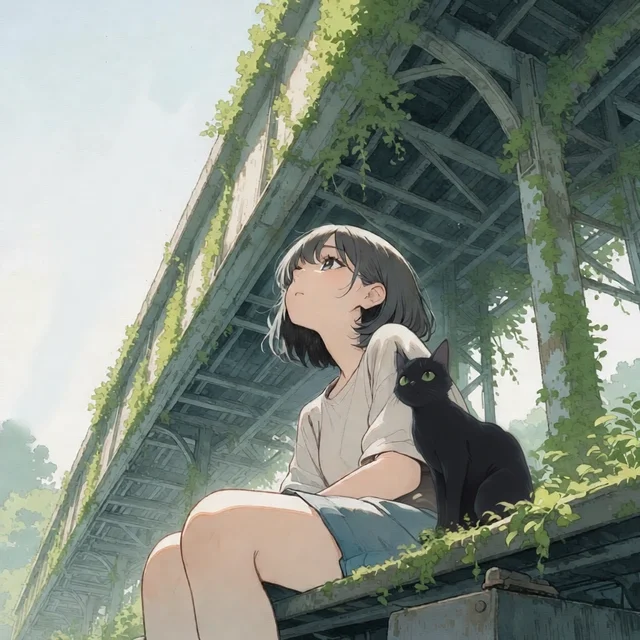
"add a black cat sitting next to the girl"
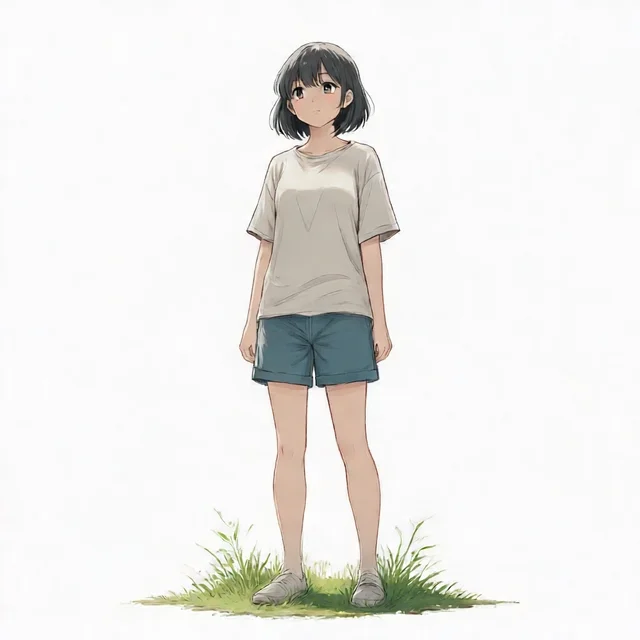
"extract the girl from the image. show her standing in a natural pose. white background."
Comparison with “Regular” Models
Image Input
Unlike other models, Edit models are designed to work on an existing image. They are not as good at generating images from scratch.
Text Prompt
Edit models take commands as text prompts, for example “make it sunny” or “change the color of the woman’s dress to light blue”. In contrast, regular models typically take descriptive prompts that describe the entire scene.
Strength
Edit models are typically used at 100% strength. Lower values often prevent any change happening at all.
Selections
Both model types support selections to constrain the area of effect.
Supported Edit Models
The Krita Plugin currently supports the following edit model architectures:
- Flux Kontext
- Flux 2 Klein (experimental)
- Qwen Image Edit (experimental)
How to Use Edit Models
This section uses the Flux Kontext model as an example. The steps are the same for other supported edit models.
-
Install the Edit Model
Edit models are installed like other models. If you are using a managed server, simply select them from the list of available models. Custom server users download and drop the model file into the
models/diffusion_modelsfolder.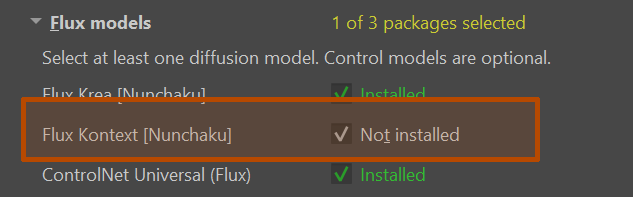
-
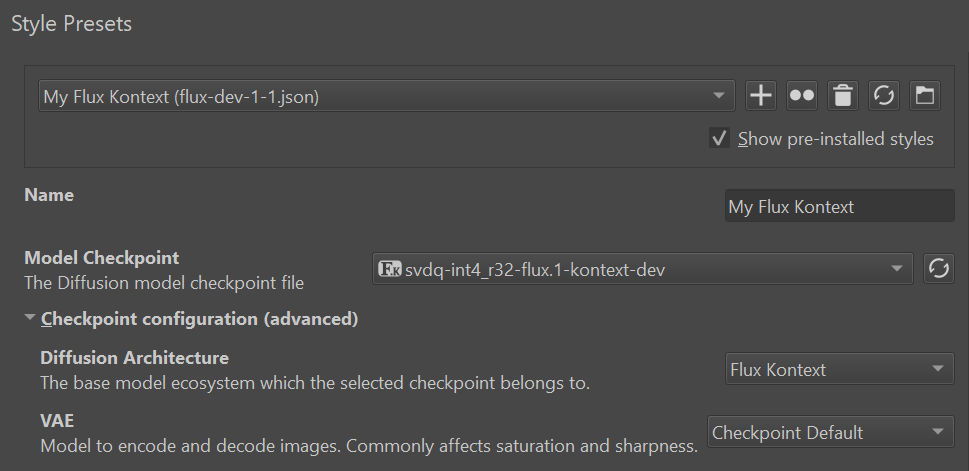
Select a Style which uses the Edit Model
There are built-in styles for editing, like Flux Kontext. Like any other style, you can copy and customize them to your needs. If you are using a custom edit model and it is not detected as such, you can manually set the architecture to “Flux Kontext” in the style settings. Usually you can leave it on “Automatic”.
Alternatively you can switch a regular style into edit mode.
-
Prepare the Image
Make sure the image you want to edit is visible in the Krita canvas. All visible content (merged layers) are used as primary input for the edit model.
While technically any resolution and aspect ratio is supported, edit models are often sensitive to image size and work best around 1MP. Selections can help reduce effective resolution by only editing part of the image.
-
Write your Instructions
In the text prompt field, write the instructions for the modification you want to make. Be specific. Identify objects in the image by describing them via a unique feature, then specify the desired change. It is also recommended to explicitly mention things that should remain unchanged. Make changes one at a time.
Examples:
- “Make it sunny”
- “Make the man wear medieval armor”
For a more comprehensive guide, see Flux Kontext Prompting Guide.
-
Press the button
Combining multiple images
You can use multiple images as input for edit models for various tasks:
- Use a second image as reference for style transfer
- Put objects from one image into the scene of another
- Apply clothing or accessories to a character
- etc.
Your primary image will always be the visible content in the canvas. To add additional images, put them in a separate layer, and click the button. You can hide the additional layer so it doesn’t get in the way. Multiple images can be added this way, but each will significantly increase memory usage and processing time.
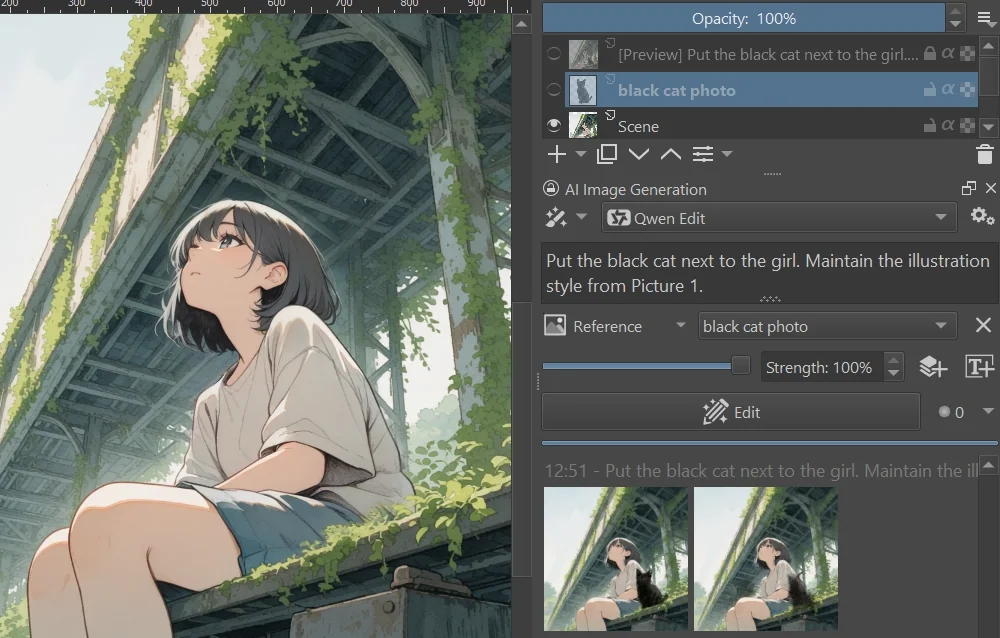
To reference input images in your instructions it is best to succinctly describe their content. For latest Qwen Image Edit models you can use “Picture 1” for the main canvas, and “Picture 2”, “Picture 3”, etc. for additional reference images, in the order they are listed in the UI.
Linking Edit Styles
You can link an existing style for editing in the style settings of a regular image generation model . This allows you to switch between generation and editing without switching styles.
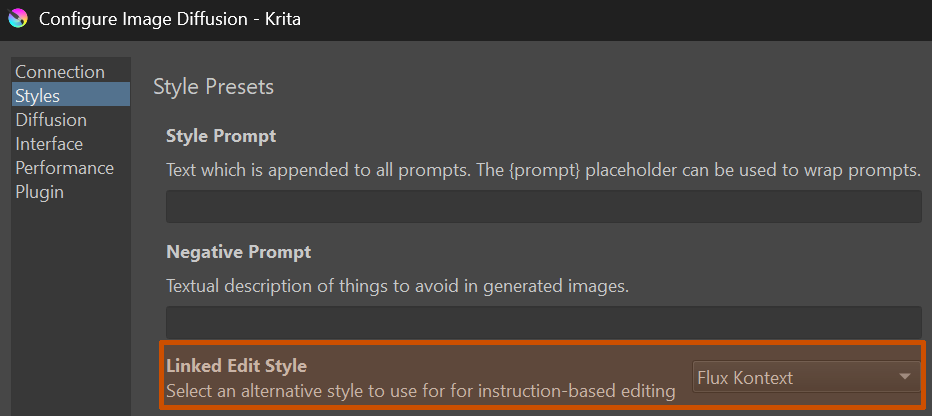
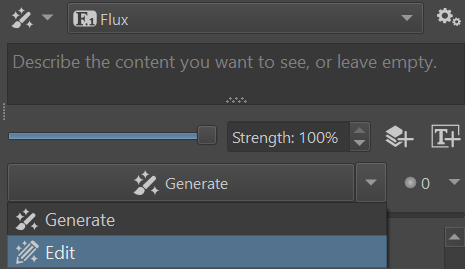
When you select an image generation style that has an edit style linked, use the dropdown menu next to the button to switch to edit mode. Edit mode stores its own text prompt to easily switch between full generation and edit instructions.
Common Issues
No “Edit” button
When selecting a Style that uses an edit model, the “Generate” button in the Docker is replaced with “Edit”. If you still see “Generate”, the Style may not be configured correctly. Check the Style settings to ensure it is using an edit model. If you think the model is not detected correctly, you can manually set the architecture in “Checkpoint configuration (advanced)”.
Images look unchanged
If the generated image looks identical to the input image, it is likely because the model did not understand the instruction. Try rephrasing the prompt.
In some cases certain instructions may not be supported by the model at all. Current edit models tend to be extremely good at various tasks they’ve been trained on, but can struggle with anything outside of that scope. LoRA can extend the capabilities of edit models in some cases.